Blog · Mixing from start to finish · Part 20 of 20
Checking a mix and handing it off to mastering
How to measure loudness, true peak and headroom, check translation on different speakers, compare against references fairly, make a preview master, and print and send exactly what the mastering engineer needs.
This is the last part of the course. Over nineteen parts the mix went from a session of raw tracks to a balanced, shaped, spacious, moving song with a gentle touch on the mix bus. Now step back, check it the way listeners will hear it, and hand it to mastering in a form that gives the engineer the most to work with.
Loudness and true peak: measure, don’t guess
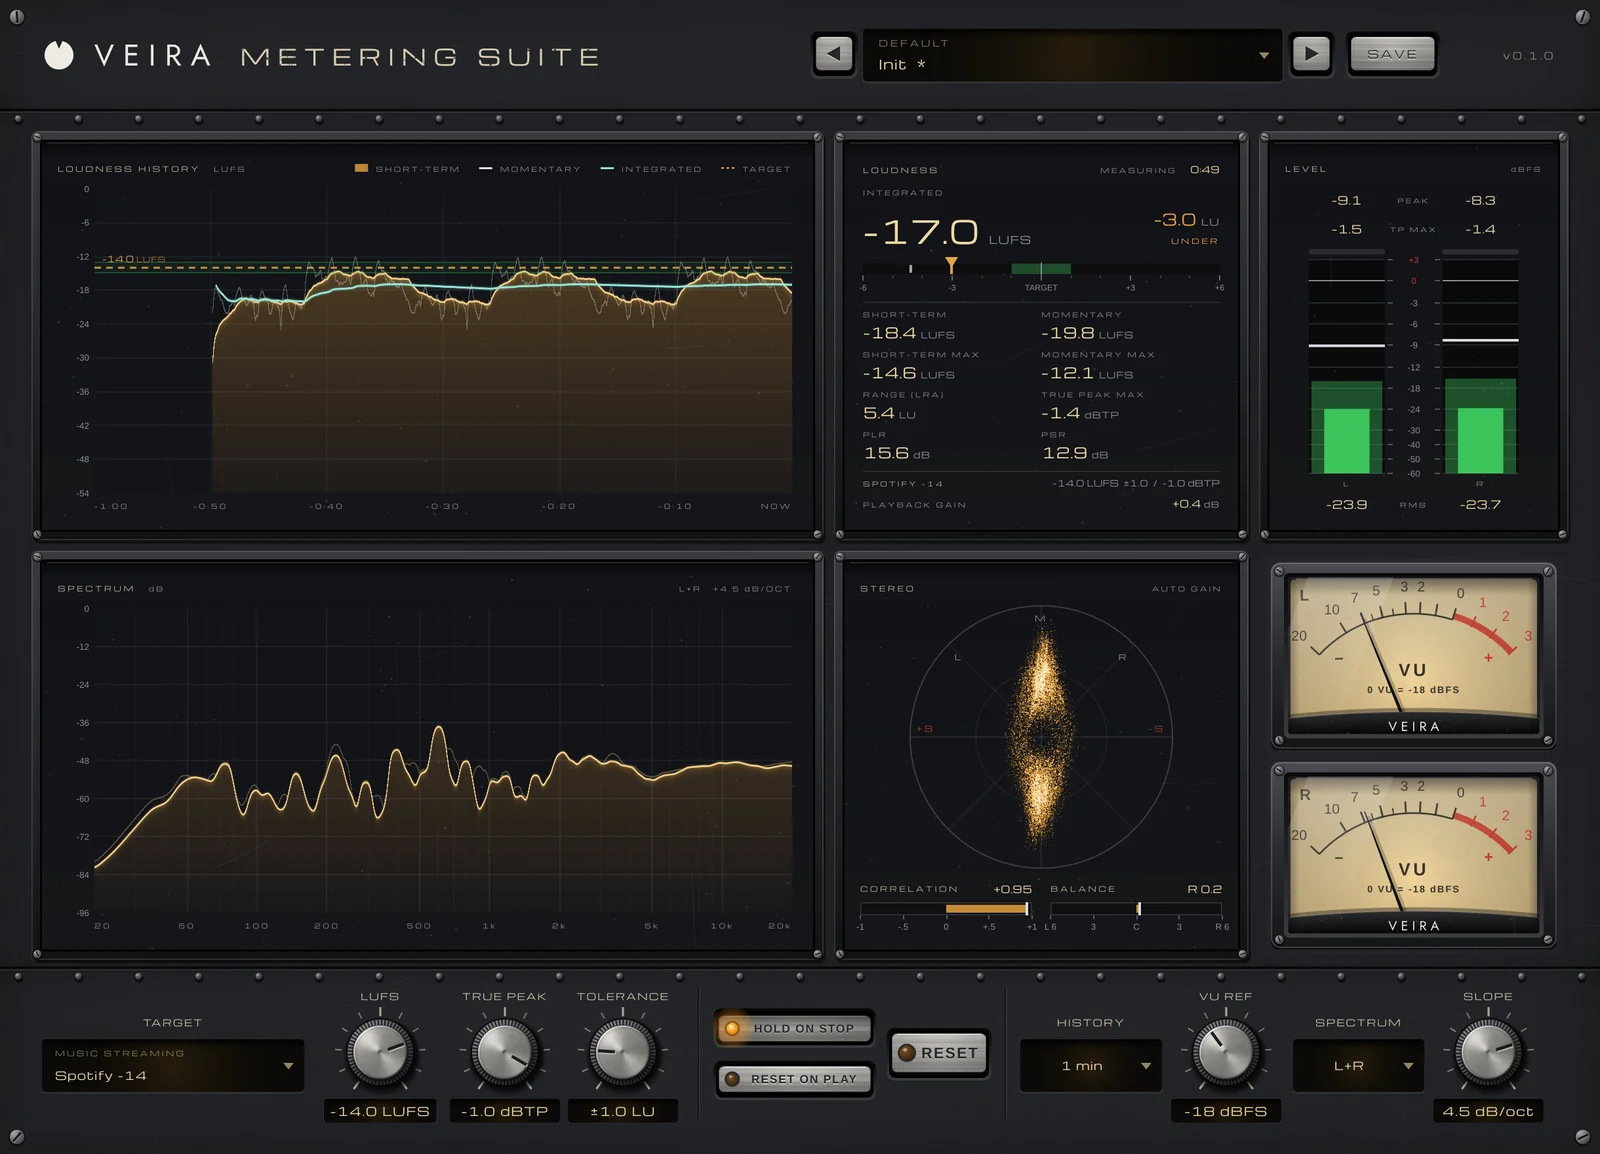
Ears get used to a level within minutes, so put VEIRA Metering Suite last on the mix bus and read the numbers; it changes nothing in the sound. It shows integrated loudness for the whole song, short-term (3 s) and momentary (400 ms) loudness, loudness range, true-peak max, PLR and PSR. True peak is measured with 8x oversampling, so it catches the peaks between the samples that a sample-peak reading misses; TP MAX turns red when it passes the limit.
For a mix going to mastering, the goal is headroom, not a loudness target. Common practice is to leave the peaks a few decibels under full scale, often around −6 to −3 dBFS, with no limiting on the bus. TARGET still helps: choose where the master is going from its 19 standards, and the panel shows how far the mix is from it, whether it is ON TARGET, OVER or UNDER, and for a streaming service the PLAYBACK GAIN it would apply. That tells you and the engineer how much level the master will need to find.
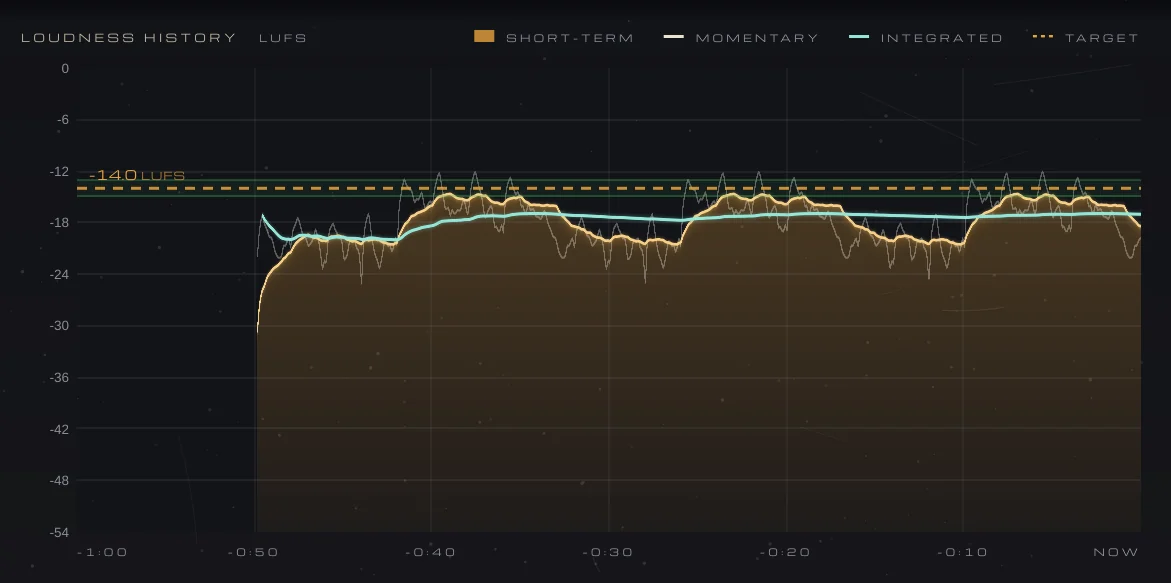
LOUDNESS HISTORY draws the short-term loudness over 30 seconds up to 60 minutes, so a chorus that pokes far above the rest, or a song as flat as a ruler, is plain to see. With HOLD ON STOP, playing the song in parts adds up to one measurement; RESET starts a new one at the top of the song.
Translation: does it hold up everywhere?
A finished mix has to work on systems you didn’t mix on. Play it on each of these and take notes before you change anything:
- Small speakers or a phone: is the bass still there as an idea, through its harmonics, and is the vocal clear?
- Headphones and earbuds: too much reverb, a harsh top end, anything oddly far to one side?
- A car or a living room: is the low end even, or does one note boom?
- Very quietly: can you still hear the vocal and the snare over everything else?
- In mono: do the vocal, kick, snare and bass stay put, as in part 17?
Make the changes on the tracks, not with broad moves on the bus, then go round again. VEIRA Metering Suite’s SPECTRUM helps: SLOPE tilts it so a balanced mix reads about flat at 4.5 dB per octave, and M / S mode shows the centre and the sides separately. The VU meters, with 0 VU at −18 dBFS by default, show how hard the mix is driving.
References: compare like with like
Comparing your mix with a finished, mastered song only helps if the loudness difference doesn’t fool you. VEIRA Mastering Analyzer learns a tonal target from songs you choose: play one, press NEW TARGET, and add more with ADD SONG. For each of 31 third octaves it measures the band relative to the song’s loudness, so a loud master and your quieter mix compare fairly, and your mix is drawn against the references’ range: above it, below it or inside.
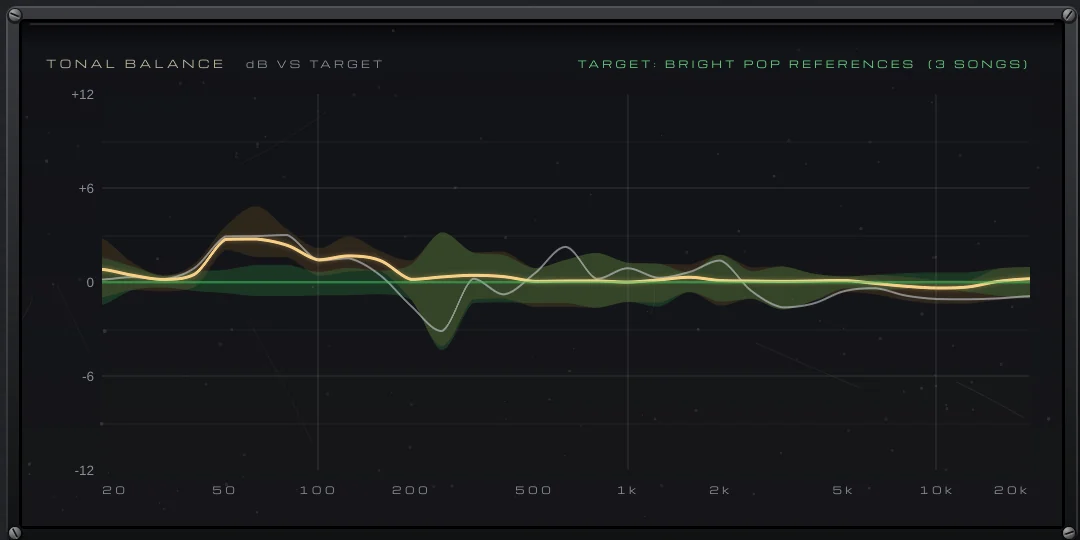
Inside the range is fine; the target is a guide, not a curve to copy. Where your mix sits well outside it for long stretches, go back to the tracks that live there. BANDS shows the DYNAMICS (crest factor), CORRELATION and SIDE of SUB, LOW, LOW MID, HIGH MID and HIGH against your references, so a squashed low end or a wide sub bass shows up at a glance. The SPECTROGRAM shows the spectrum over time: a hi-hat too loud only in the chorus is a patch that comes and goes.
A preview master with VEIRA Limiter White
Artists and clients usually want to hear the song at release loudness before mastering is done. Make that preview as a separate print, and never send it as the mix. VEIRA Limiter White is a clean true-peak limiter: raise GAIN and it keeps every peak under the CEILING; double-click the ceiling line for −1.0 dBTP. Set a TARGET in LUFS, which changes nothing in the sound, and the loudness panel shows how far you are from it. A moderate target is plenty for a preview.
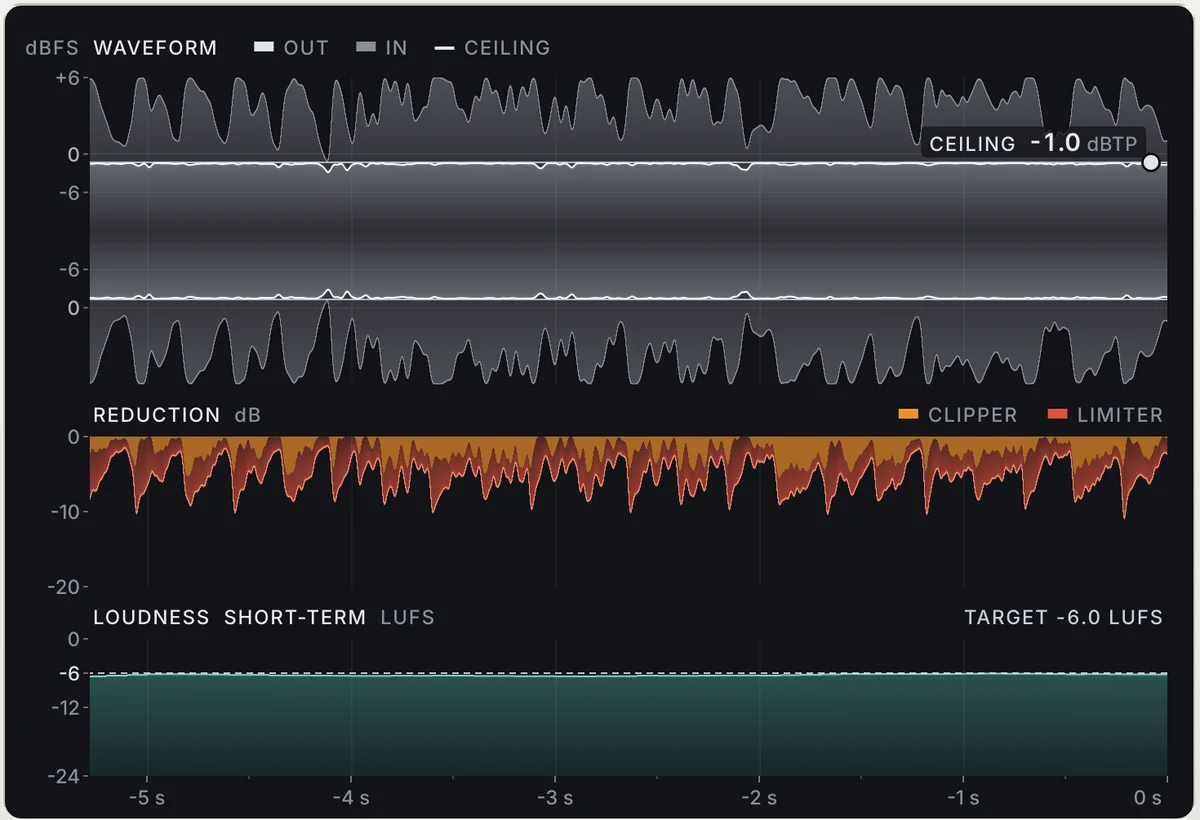
Below 200 Hz it turns the level down instead of clipping, so bass notes stay clean, and AUTO makes the release two-stage so dense passages don’t pump. Louder always sounds better, so press MATCH to hear the result at the input’s loudness; an offline bounce always leaves MATCH out. When more GAIN only adds reduction, back off.
Printing the mix and what to send
- The mix itself, without VEIRA Limiter White, as a WAV at the session’s sample rate; 24-bit or 32-bit float is common practice.
- Headroom: peaks a few decibels under full scale, checked in true peak, and nothing clipping anywhere in the song.
- The start and the end left whole: a little silence before the first note, and the tail allowed to ring out.
- The preview master, clearly labelled as a preview, so everyone knows which file is which.
- Your references and a short note: where the master is going, what you love about the mix and anything that worries you.
- Any versions asked for, such as an instrumental, printed from the same session with the same settings.
The end of the course
That’s the whole journey: preparing the session, cleaning tracks, a static balance, EQ and compression, drums, bass, guitars and keys, the vocal and its backing, colour, space, delay, problems that come and go, width, movement and the mix bus, and finally checking and handing off. None of these steps is a rule; each is a way of listening. Finish songs, compare them with music you love, and come back to any part when a mix gets stuck. The more mixes you finish, the faster you will hear what a song needs. Thank you for following along, and enjoy the next mix.