Blog · Mixing from start to finish · Part 4 of 20
EQ to make room in a mix: high-pass filters, cuts and masking
How to use EQ to make space for every instrument: where to set high-pass filters, why to cut before you boost, how to find and fix masking between parts, and when broad tonal moves work best.
In part 3 we built a static mix with faders and panning alone. Now some parts are fighting: the guitars blur the vocal, the bass and the keys crowd each other, and the low end is too thick. In a mix, EQ’s first job isn’t to make each part sound better on its own, but to make room so every part can be heard.
High-pass filters: clear the low end you don’t need
Almost every microphone picks up low-frequency energy that isn’t part of the instrument: rumble, handling noise, the room, the kick and bass leaking in. Across twenty tracks it piles up into a muddy, unfocused low end. A high-pass filter, also called a low cut, takes it away. Starting points, always adjusted by ear:
- Lead and backing vocals: 80 to 120 Hz, higher for backing vocals that don’t need weight.
- Acoustic and electric guitars: 80 to 120 Hz, or higher in a busy mix where the bass carries the low end.
- Overheads and hi-hat: 150 to 400 Hz if the kick and toms have their own microphones; lower if the overheads carry the whole kit.
- Keys and pads: around 100 to 200 Hz in a dense arrangement, so the left hand stays off the bass.
- Kick and bass: leave them full, or filter gently around 25 to 40 Hz to remove sub rumble that uses up headroom.
Raise the filter until the instrument starts to sound thin, then back it off a little, with the whole mix playing: a guitar that sounds thin alone often sounds right against the bass. A slope of 12 or 18 dB/oct suits most sources; steeper filters can sound unnatural and shift the phase more around the cutoff.
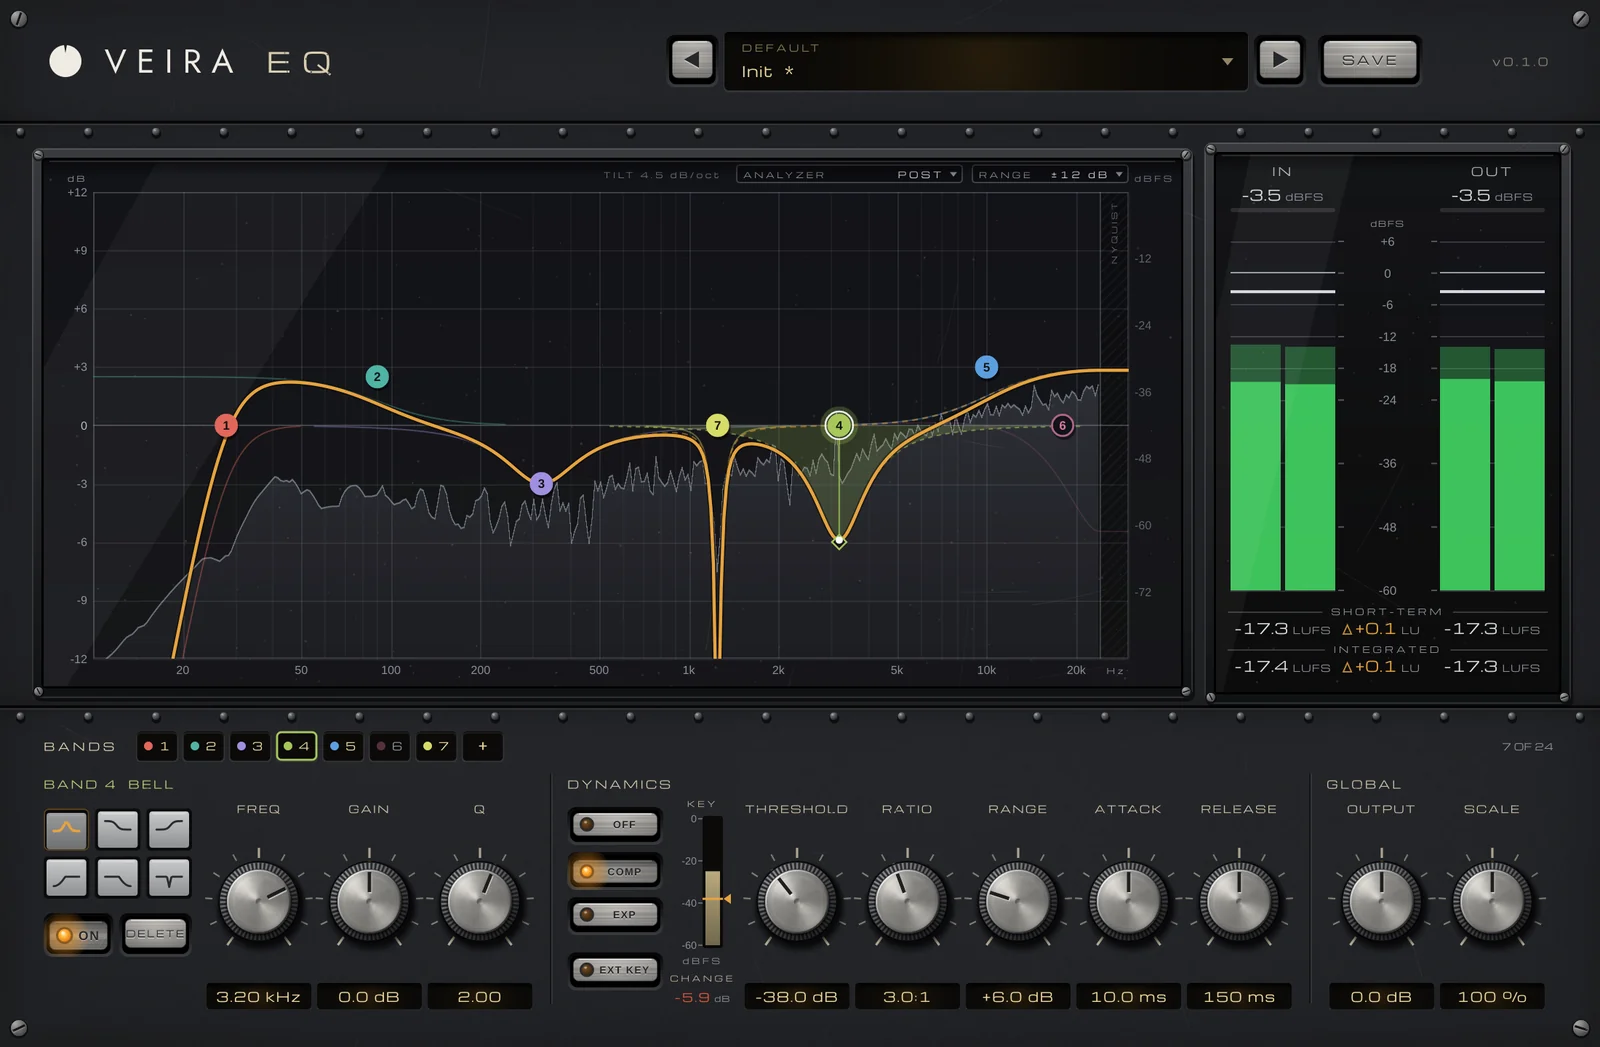
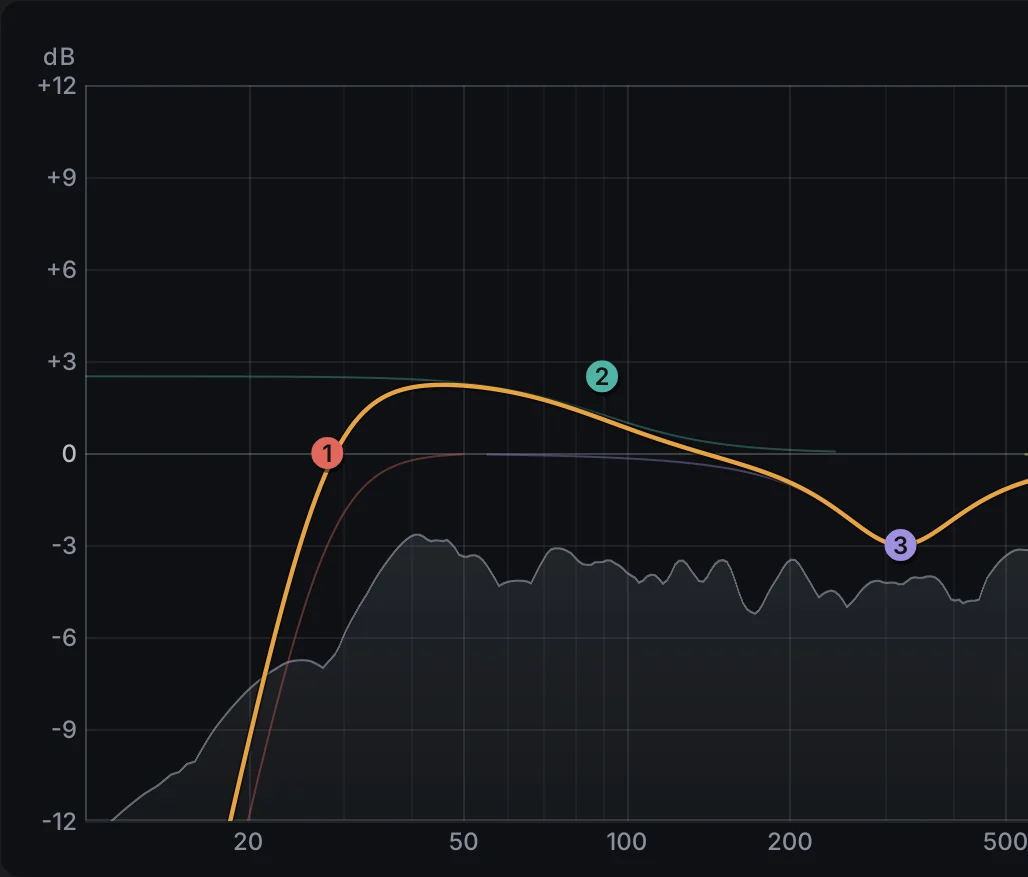
VEIRA EQ has low and high cuts from a gentle 6 dB/oct to a brick-wall 96 dB/oct, anywhere from 10 Hz to 30 kHz; click the graph to add one. The 8192-point analyzer behind the curve is tilted 4.5 dB/oct so a balanced mix looks flat; show input and output together to see exactly what the filter took away.
Cut before you boost
When a part sounds wrong, the reflex is to boost what’s missing, but more often there’s too much of something else. A dull guitar may have too much 200 to 400 Hz rather than too little treble; a distant vocal may need a cut in the boxy midrange rather than a presence boost. Cuts tend to sound more natural, leave more headroom and make room instead of adding to the crowd.
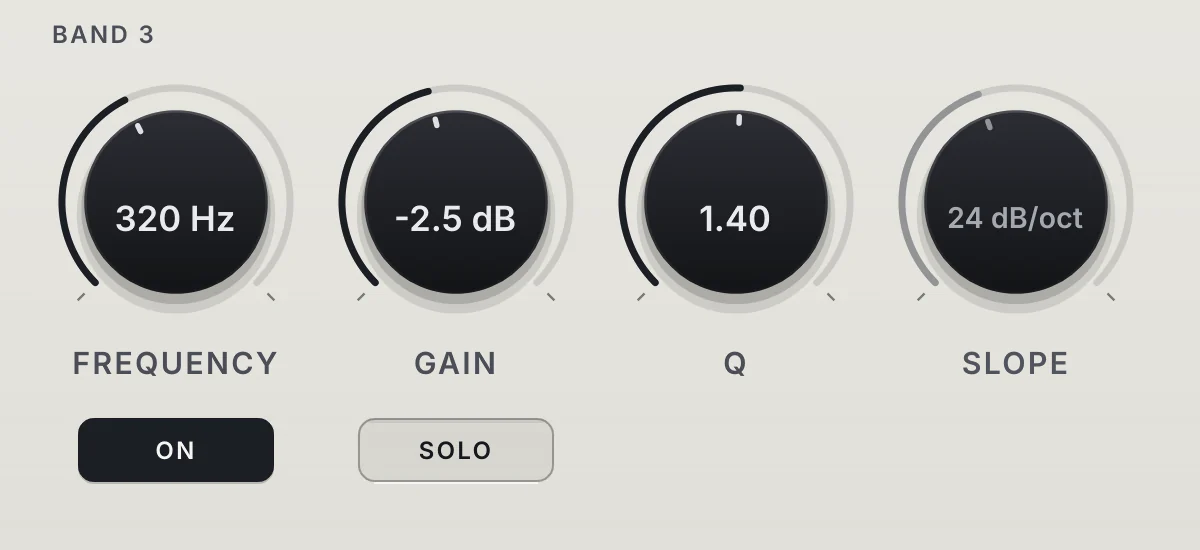
VEIRA EQ White makes finding a problem frequency easier with SOLO, which plays only the region the selected band acts on: sweep a narrow bell with SOLO on until a ring, a boxy spot or a harsh frequency jumps out, then turn SOLO off and set the cut. Check 200 to 500 Hz for mud and boxiness, 800 Hz to 1.5 kHz for honk and 2 to 5 kHz for harshness. Start with cuts of 2 to 4 dB at a Q of about 1 to 2; deep, narrow cuts are for real resonances, not for tone.
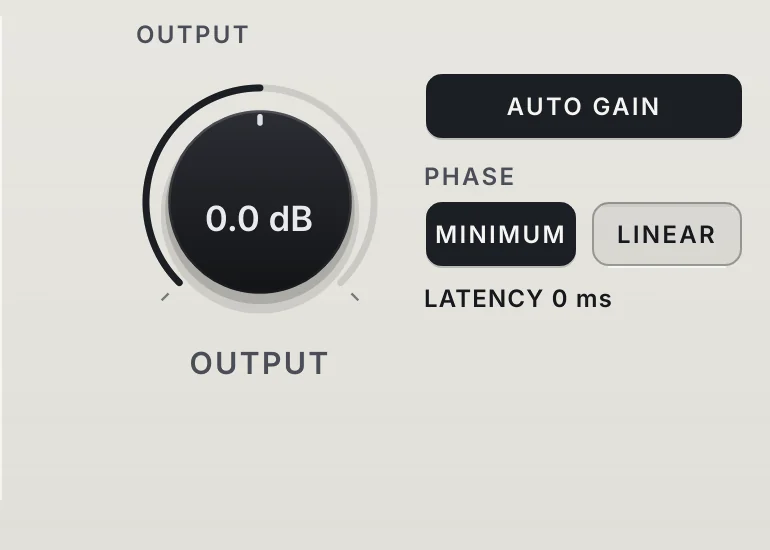
Every EQ move also changes the level, and louder always sounds better for a moment. AUTO GAIN on VEIRA EQ White works out from the curve itself how much louder or quieter it makes typical music and takes that back off, so you hear the change in tone, not in volume. On VEIRA EQ, trim OUTPUT until the meters’ difference between OUT and IN reads about 0 LU before you judge a move.
Find and fix masking between instruments
Masking is when two sounds share a frequency range and the louder one hides the quieter one: it’s why a vocal can be loud enough on the fader and still hard to understand. The fix is to decide which part owns each range and carve a little space in the other:
- Kick and bass: decide who owns the very bottom. If the kick’s weight sits around 50 to 60 Hz, a small cut in the bass there lets it through, and a small cut in the kick around 80 to 120 Hz leaves that range to the bass.
- Vocal against guitars or keys: a broad 2 to 3 dB cut in the guitars or keys somewhere between 1 and 4 kHz, where much of the vocal’s clarity lives, often helps the vocal more than boosting it.
- Snare against guitars: the snare’s body around 150 to 250 Hz competes with the guitars’ low mids; a little cut in the guitars helps the snare.
- Pads against everything: pads tend to fill the whole midrange; thin them out so they support the song instead of covering it.
Look for masking on the analyzer, but decide by ear: two parts can overlap on the screen and sound fine because they play at different moments. Cut the part that matters less, as little as you can, then bypass the band to check that the move helped the other part. When a clash only happens on some notes or hits, a static cut is the wrong fix; dynamic EQ, in part 16, handles that.
Broad moves for the overall tone
Then come the broad tonal moves: a gentle high shelf that adds air to a vocal above 8 to 10 kHz, a wide bell that adds warmth to a thin acoustic guitar, a low shelf that tilts a bright piano a little darker. Use low Q values, around 0.5 to 1, and small amounts, 1 to 3 dB: wide moves sound natural because they change the instrument’s balance rather than adding a peak.
SCALE on VEIRA EQ turns every band’s gain up or down together, from 0 to 200 %: if a set of moves sounds right in solo but too much in the mix, pull SCALE back to 70 % and listen again. On a group bus or a stem that will be summed again, PHASE on VEIRA EQ White switches from zero-latency MINIMUM to LINEAR, which leaves the phase of the music untouched, at a constant 181 ms at 48 kHz that your DAW compensates.
Keep listening to the whole mix
Go back to the full mix and your references often: a part that sounds a little odd alone but makes the song clearer is right, and one that sounds gorgeous in solo but buries the vocal is not. Once every part has its room, the balance from part 3 usually needs only small fader touches, and the mix is ready for the next step: controlling dynamics with compression.