Blog · Mixing from start to finish · Part 1 of 20
Preparing a mix session: organizing, gain staging and tuning checks
How to set up a session before you mix: organize and label the tracks, bring every track to a sensible level, choose and level-match references, pick a monitoring level, and check the instruments were in tune.
Welcome to the course. Over 20 parts we’ll take a song from a folder of raw tracks to a finished mix ready for mastering, in the order most engineers work: preparing the session, cleaning up, the static balance, EQ and compression, each group of instruments, the vocals, effects, movement, the mix bus and the final checks. This first part comes before any processing: it’s about setting things up so that every decision after it is easier.
Organize the session so you can find anything in seconds
A mix is hundreds of small decisions, and you make better ones when you aren’t hunting for tracks. Spend the first half hour on housekeeping:
- Name every track by what it is (Kick In, Snare Top, Bass (DI), Lead Vox), not by the input it was recorded on.
- Put the tracks in a fixed order, drums first, then bass, guitars, keys, vocals and effects, and give each group its own color.
- Route each group to a bus, so later you can move a whole section with one fader.
- Add markers for the intro, verses, choruses and bridge, so you can jump straight to the loudest chorus.
- Hide or remove false starts and alternate takes once the artist has confirmed which takes are final.
Check the basics too: that the session’s sample rate matches the files, that nothing clipped while it was recorded, and that every track starts in sync. A drum track a few milliseconds late is far easier to catch now than after you’ve compressed it.
Gain staging: give every track a similar starting level
Recordings arrive at all sorts of levels: a kick peaking near 0 dBFS, a pad at −30 dBFS. Floating-point software rarely clips internally, but many plugins, especially those modeled on analog gear, respond to how hard you drive them. With every track at a similar level, threshold and drive settings and presets behave as intended, and your faders sit near the middle of their travel instead of at the bottom.
A common target is an average level around −18 dBFS, with peaks around −10 to −6 dBFS for most sources and a little higher for very percussive ones. Make the change with clip gain or a trim at the start of the chain, not with the fader, which is for the balance in part 3.
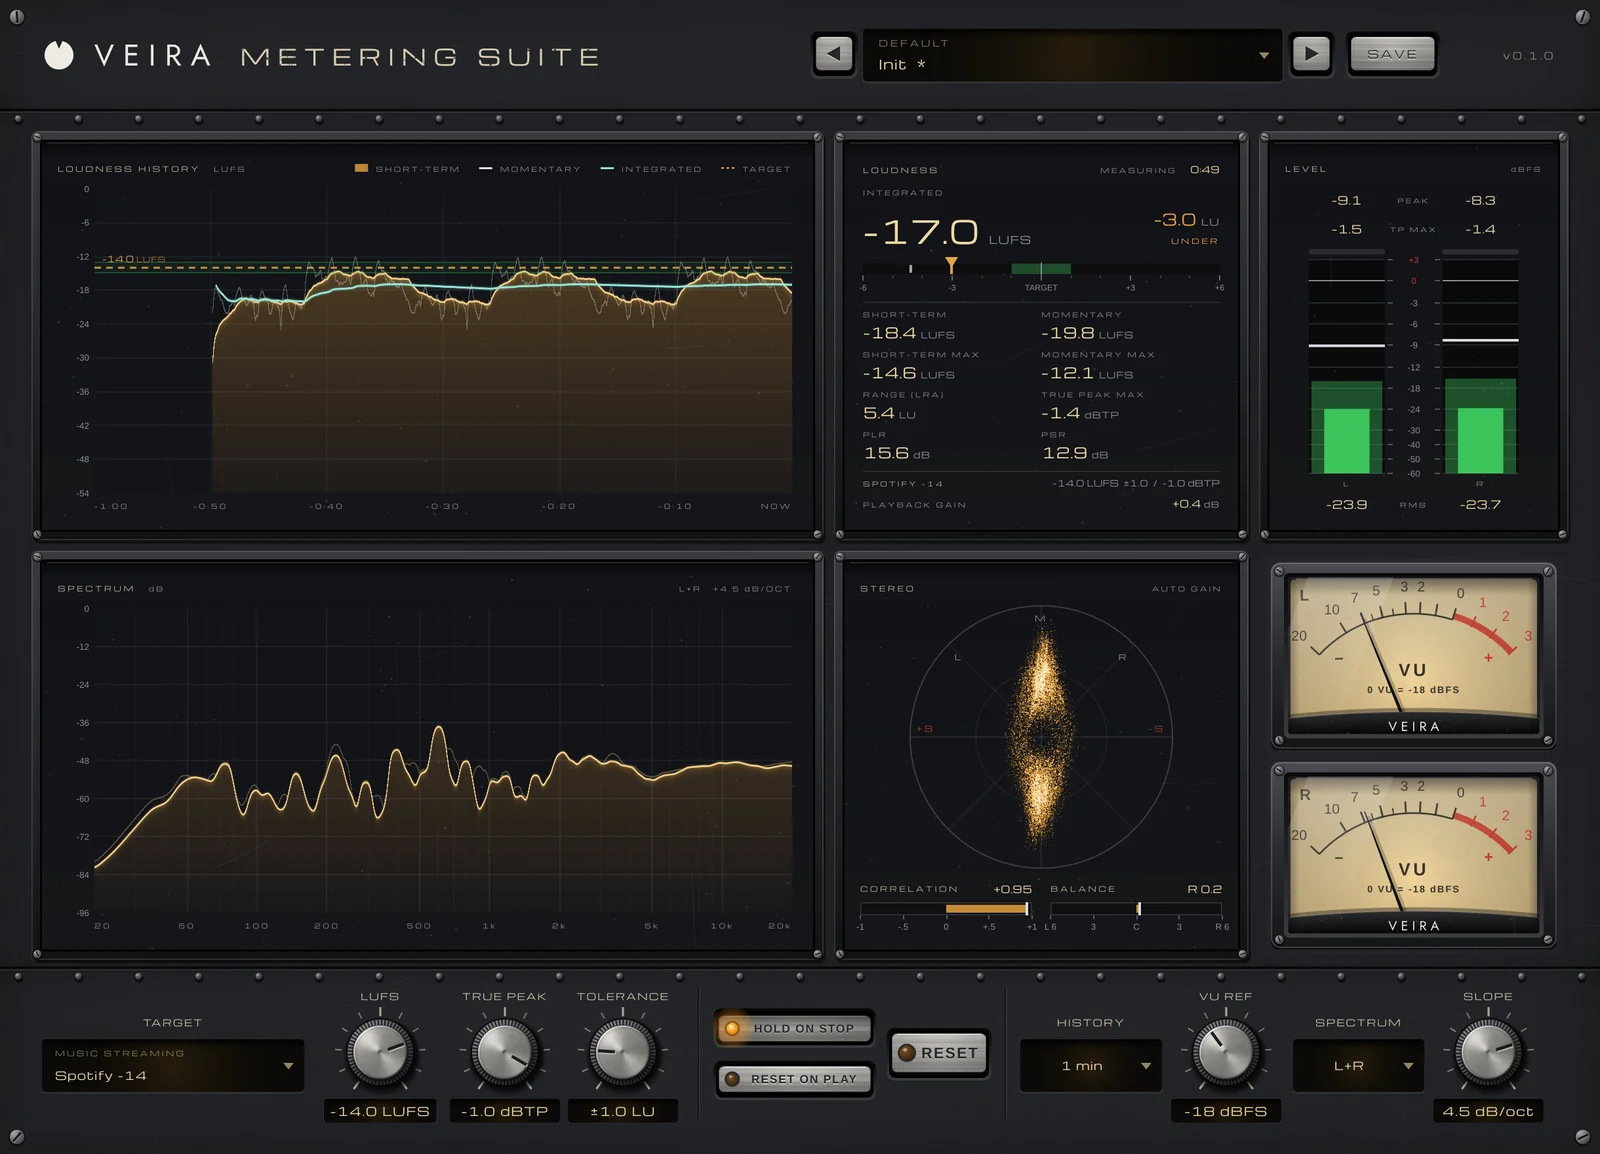
VEIRA Metering Suite makes this quick. Put it on a track and play the loudest section. LEVEL shows left and right peak and 300 ms RMS with a 2 s peak hold, and the two VU meters show the average level with true VU ballistics. VU REF sets the level for 0 VU, −18 dBFS by default, so a track that swings the needles around 0 VU sits right at that average. The output is the input, bit for bit, so you can leave it in place while you work.
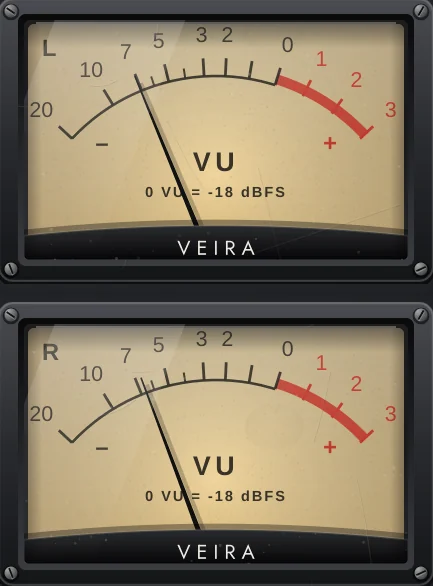
The VU needles are slow on purpose: they show something close to how loud a track feels, not every spike. Drums read lower on them than on the LEVEL peak bars, so watch both. If a snare’s peaks pass −6 dBFS while the VU barely moves, trust the peaks and trim it a little further.
Choose references and listen at a steady level
A reference is a released song in a similar style whose sound you like. Import two or three on their own tracks, routed straight to your outputs so they skip anything you later put on the mix bus. You’ll use them throughout the course to check the tone, the low end, the vocal level and the width: not to copy them, but to reset your ears after an hour of your own mix.
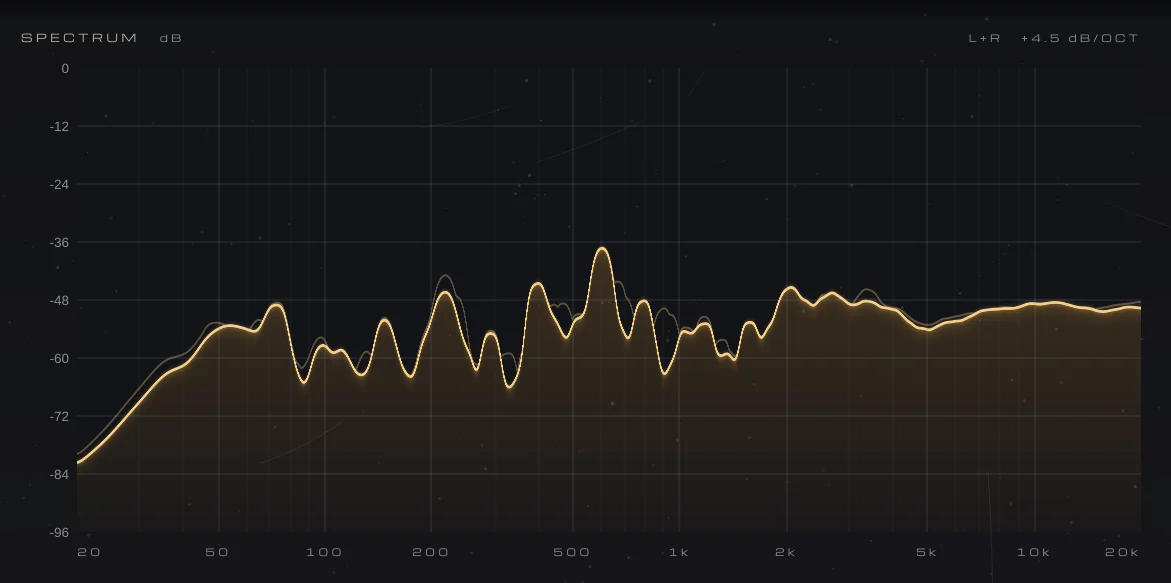
Released songs are mastered and loud, and louder sounds better, so match them before you compare. Put VEIRA Metering Suite on the reference track and read its short-term loudness on the LOUDNESS panel, do the same on your mix bus, and lower the reference until both read about the same in LUFS. The SPECTRUM, tilted by SLOPE so a balanced mix reads about flat at 4.5 dB per octave, shows at a glance where the reference puts its energy.
Your monitoring level matters just as much. Quietly, we hear less bass and treble; loudly, everything sounds fuller and more exciting, and long loud sessions tire the ears. Choose a moderate level you could hold a conversation over, set your monitor control there, and after brief checks, louder for the low end or quieter for the balance, always come back to it.
Check the instruments were in tune
Tuning problems are much easier to spot before effects and other instruments cover them, and a guitar or bass a few cents off makes the whole mix feel slightly wrong in a way no mixing move can fix. Finding it now leaves time for a retake or a correction.
VEIRA Tuner is free and passes the sound through bit for bit with no latency, so it can sit on any track. For recorded parts, set INSTRUMENT to Chromatic: the target is then the nearest note, from A0 (27.5 Hz) to F#6 (about 1.5 kHz), and the display shows the note, how many cents it is off and the target’s frequency. Solo a single held note, such as the end of a bass phrase or a sustained guitar note (a chord has no single pitch to read), and watch the needle, which turns green within 2 cents.
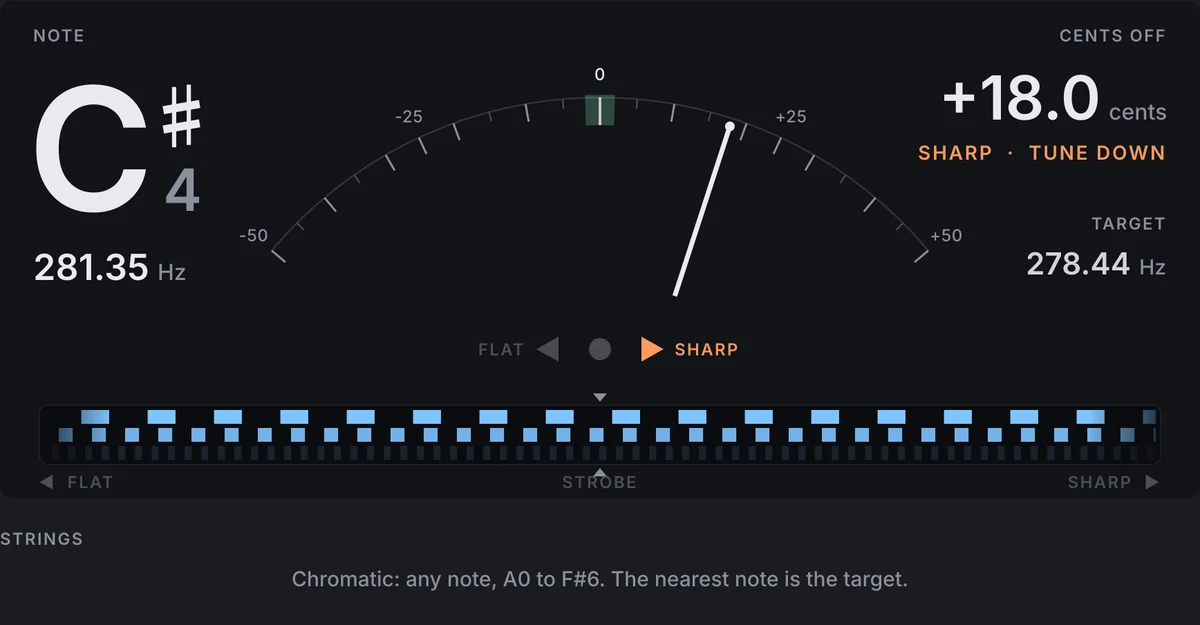
If every instrument reads about the same amount sharp, the band may have tuned to another reference: 442 Hz, for example, is about 8 cents above 440 Hz. Set REFERENCE A4, which runs from 415 to 466 Hz, to that value and see whether the readings settle near zero. In a mix the instruments must agree with each other, not with 440 Hz, so check the bass, keys, guitars and pads against each other and note any sections that drift.
What you have before the next step
Now the session is tidy and routed to group buses, every track sits at a similar level, your references are level-matched, your monitoring level is set, and the instruments agree in tuning. None of this changes the sound much, but the whole course builds on it. Next we clean up the tracks: noise, hum, clicks and the bleed between the drum microphones.