Blog · Mixing from start to finish · Part 5 of 20
Compression basics for mixing: threshold, ratio, attack and release
What each compressor control does, how much gain reduction a track needs, where to start attack and release, and why you should always judge compression at matched loudness.
The mix is cleaned up, balanced, and part 4 carved out room for each instrument. Now we start controlling dynamics. Compression comes back on drums, bass, vocals and the mix bus in the parts that follow, so this one takes its time over what each control really does.
What compression actually does
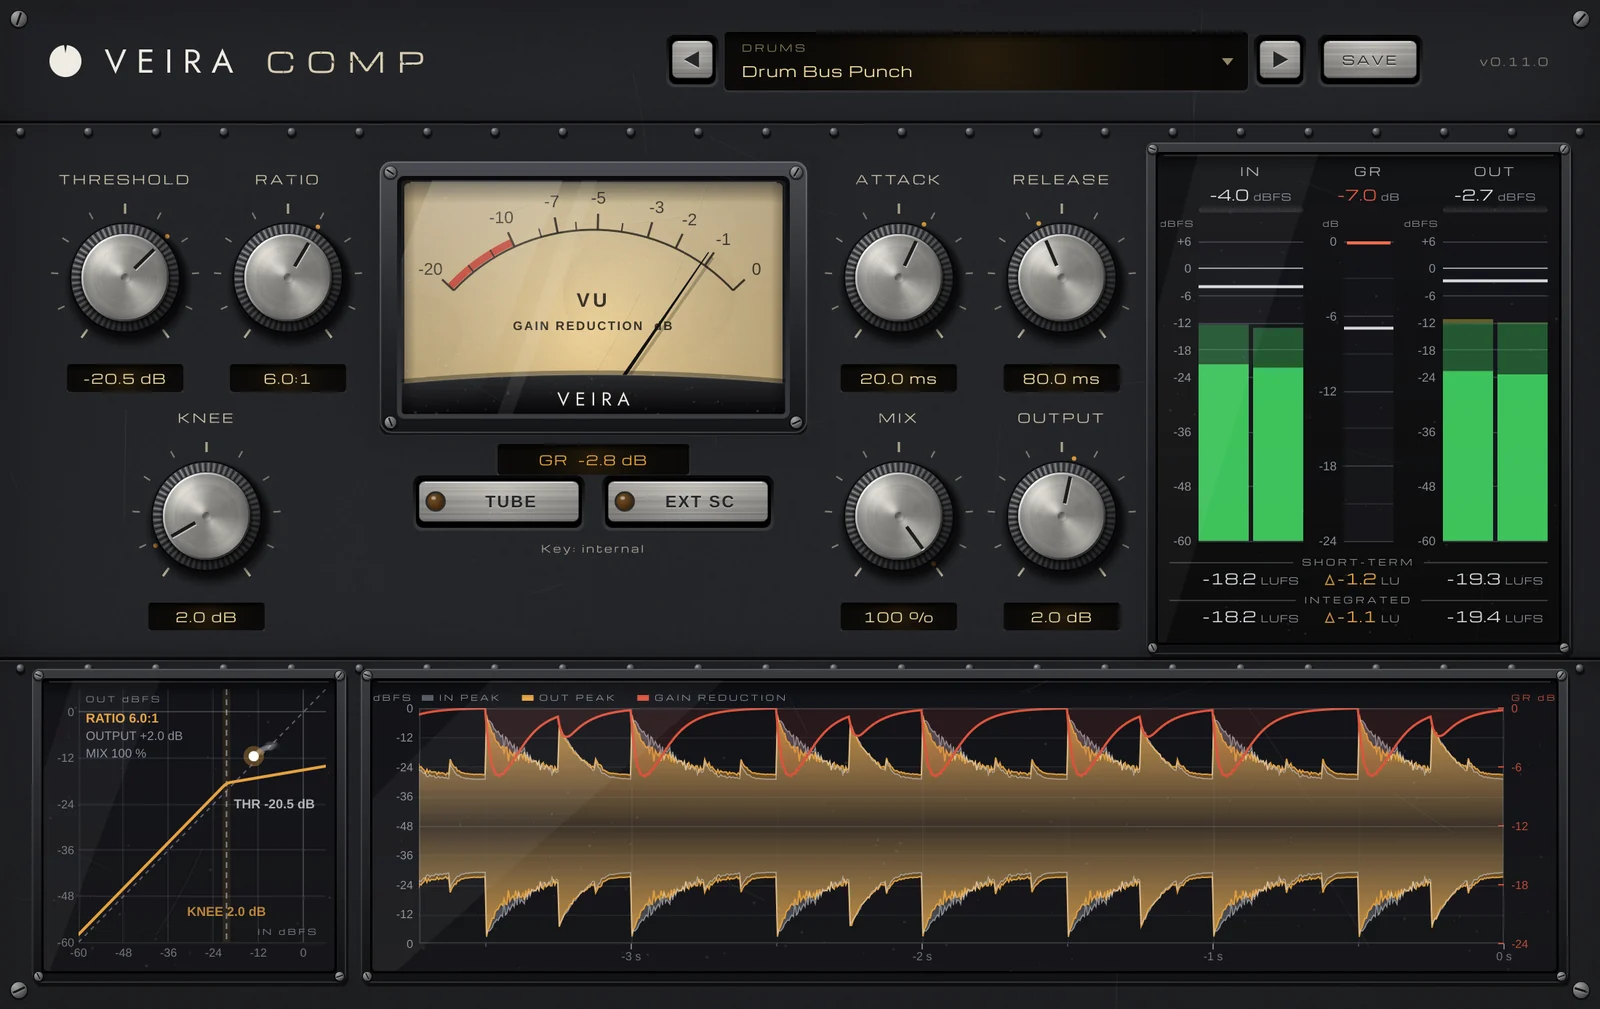
A compressor turns a signal down when it gets louder than a level you choose, and leaves it alone below that level. That’s all. The gap between loud and quiet moments shrinks, so a part sits in one place in the mix instead of jumping out and falling back. We use two here: VEIRA Comp, with a switchable tube stage and metering that shows every move, and VEIRA Comp White, the clean, transparent one of VEIRA’s four colour compressors. Their main controls work the same way, so what you learn on one carries over.
Threshold, ratio and knee: how much and how hard
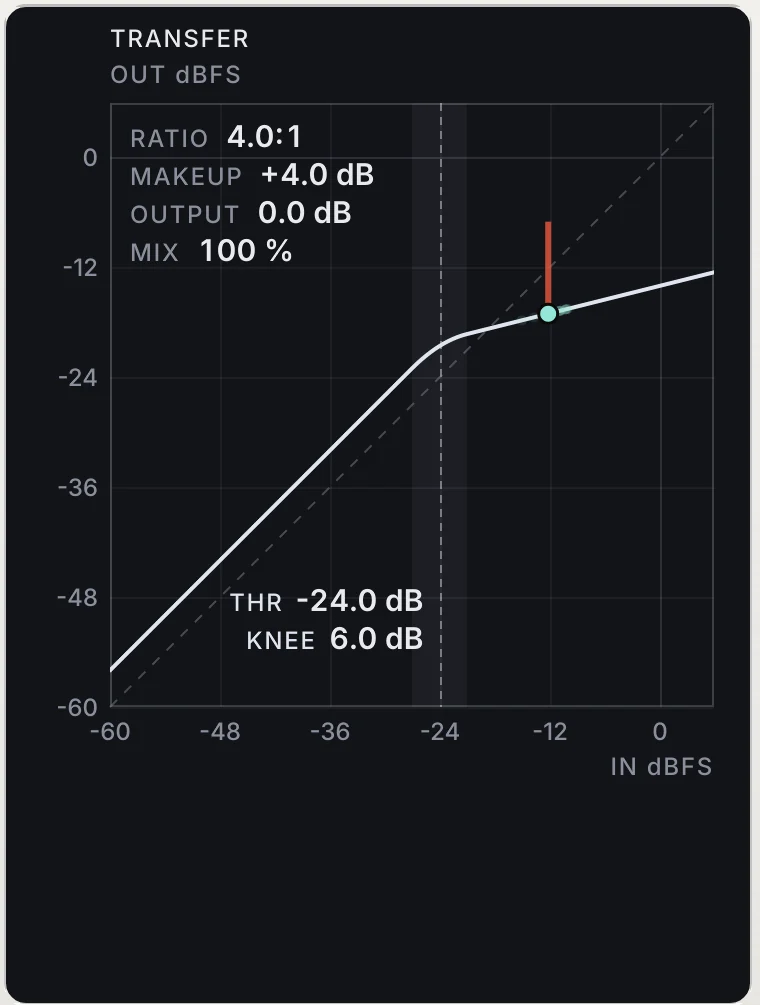
THRESHOLD is the level where compression starts: anything above it is turned down, anything below passes untouched. RATIO is how hard: at 4:1, a signal 8 dB over the threshold comes out only 2 dB over it, so it loses 6 dB. At 2:1 the same peak loses 4 dB; from about 10:1 up, compression starts to behave like limiting. On VEIRA Comp, THRESHOLD runs from −60 to 0 dB and RATIO from 1:1 to 20:1, with 4:1 at the top of the knob, where most sounds live. VEIRA Comp White’s RATIO goes to infinity, for hard limiting when you need it.
- Gentle control on bass, acoustic instruments and buses: 2:1 to 3:1.
- Firm control on vocals, snare and kick: 3:1 to 6:1.
- Catching peaks and effects: 8:1 and above.
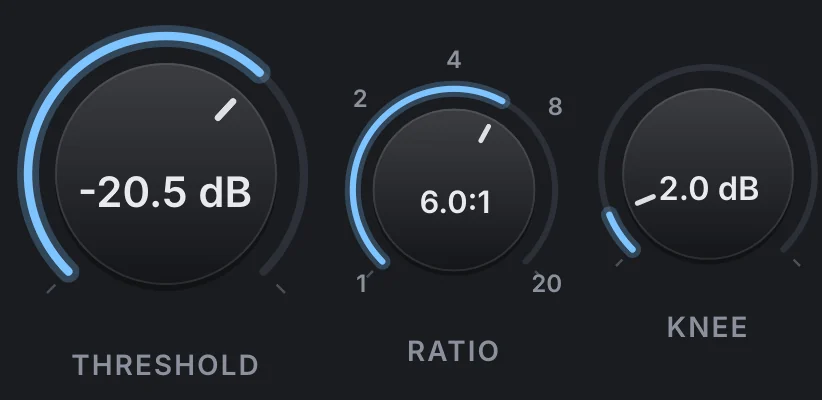
KNEE decides how the compressor crosses the threshold. A hard knee (0 dB) applies the full ratio at once; a soft knee spreads the change over a range, up to 24 dB on both plugins, so the compression creeps in. Start around 6 to 10 dB on most vocals and buses, and use a hard knee on drums when you want the compressor to grab.
Attack and release: the shape of every note
ATTACK is how quickly the compressor reacts once the signal crosses the threshold; RELEASE is how quickly it lets go once the signal falls back. On VEIRA Comp both are true time constants: 10 ms of attack means 63 % of the gain reduction is there after 10 ms, so these starting points mean what they say:
- Slow attack (20 to 40 ms) lets the front of a drum hit or a plucked note through before the compressor clamps down: more punch.
- Fast attack (under 1 ms to 5 ms) catches the transient itself: smoother, but it can sound dull or flat.
- Fast release (40 to 100 ms) recovers between hits and lifts the sustain and the room; too fast and the level audibly pumps or low notes distort.
- Slow release (300 ms and up) gives steady, gluey control; too slow and it is still turning down the next quiet phrase.
VEIRA Comp White adds two helpers. AUTO release lets a transient recover quickly and sustained compression let go slowly, so dense passages don’t pump: a safe choice when you can’t decide. LOOKAHEAD lets the detector hear 3 ms ahead, so the gain is already coming down when a fast transient arrives; the latency is the same either way, so switching it never moves your track in time.
How much gain reduction is enough
Watch the gain reduction, not the threshold number. On most tracks 3 to 6 dB on the loudest moments is plenty; a mix bus usually wants 1 to 2 dB; only effects and parallel tricks go to 10 dB and beyond. The reduction should return to zero, or close to it, between phrases or hits; if it never does, the threshold is too low and the track loses its life.
VEIRA Comp’s gain-reduction meter moves like a VU, showing the compression you hear rather than every flicker, and its history draws about 3.5 seconds of input and output peaks with the gain reduction on top: the gap between grey and blue is the compression. On VEIRA Comp White, drag the threshold lines in HISTORY, and watch the music’s level ride your curve in TRANSFER.
Makeup gain and judging at matched loudness
Compression makes the track quieter overall, and makeup gain brings it back up. This is where most mistakes happen: louder always sounds better, so too much makeup makes wrong compression seem like an improvement, and a quieter result makes right compression seem worse.
VEIRA Comp White has MAKEUP from −12 to +24 dB with an AUTO button; on VEIRA Comp, OUTPUT does that job after the mix. Both meter bridges show IN, GR and OUT with short-term and integrated loudness and the OUT − IN difference in LU. Set the output until that difference reads about zero, then bypass and compare: now you hear only what the compression does to the sound.
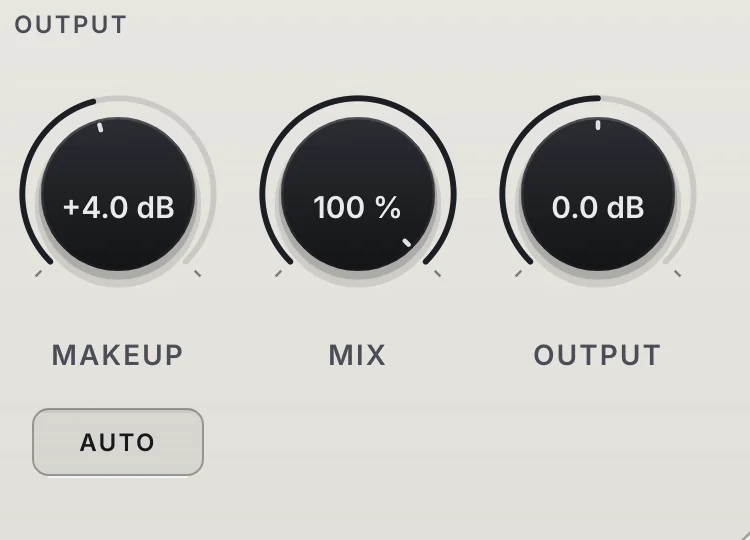
Both plugins also have a parallel MIX: blending the compressed signal with the dry one keeps the attacks while bringing up the detail underneath. Part 7 builds on that idea on the drum bus.
Choosing between the two, and common mistakes
Reach for VEIRA Comp White when you want control without colour, for example on bass, where its detector holds the gain still instead of riding the waveform, or when you need its sidechain: SC HPF keeps the kick and bass from pulling everything down, and EXT KEY lets another track drive it. Reach for VEIRA Comp when a little warmth helps: TUBE adds a triode-style stage rich in second harmonics, and because its gain at low levels is exactly 1, switching it changes the colour, not the loudness.
- Compressing everything because it’s there: if a part already sits still in the balance, leave it.
- Setting compression in solo: judge it against the mix, where a track that seems too even alone often sounds right.
- Fast attack on everything: drums and plucked instruments lose their punch first.
- Comparing at different levels: match OUT − IN before you decide.
The presets make good starting points: VEIRA Comp’s 72 were each tuned to reach their stated gain reduction within 1 dB, and all but three of VEIRA Comp White’s 37 are level-matched to bypass within 0.43 dB. Load one for your job, then set THRESHOLD for your track. Part 6 puts all this to work on the kick and snare.