Blog · Mixing from start to finish · Part 2 of 20
Cleaning up tracks before mixing: noise, hum, clicks and drum bleed
How to take hiss, hum and room tone out of your recordings, fix clicks with edits and fades, control the bleed between drum microphones, and when to edit silences instead of processing.
In part 1 we organized the session, set sensible levels and checked the tuning. Before we balance anything, it pays to clean up: the hiss, hum, room tone, clicks and bleed you barely notice on one track add up across thirty, and the EQ and compression to come will only bring them up.
Listen for what needs fixing
Go through the tracks one at a time, soloed, at your usual monitoring level and once a little louder. Listen to the gaps more than the performance: the seconds before the first note, the pauses between vocal phrases, the end of each take. Make a short list of what you hear:
- Broadband hiss from a preamp or an old recording, steady like air.
- Hum at the mains frequency, 50 or 60 Hz, and its harmonics, often from guitar amps and cables.
- Room tone and background: computer fans, air conditioning, traffic.
- Clicks and pops at edit points, mouth clicks, chair creaks and handling noise.
- Bleed: the other instruments heard on a microphone that was meant for one.
Not everything on that list needs fixing. A little hiss disappears once the band comes in, and some room sound is part of a recording’s character. Clean what you will hear in the finished mix, and take the most care with exposed parts: a solo vocal intro, a quiet acoustic guitar, a spoken section.
Edit before you process
The simplest clean-up is deleting what isn’t music. On vocals, guitars and keys, cut out the regions between phrases where nobody is playing, then put short fades on every edit: a few milliseconds at the start so the note isn’t softened, and a longer fade out, often 20 to 100 ms or more, so breaths and ringing notes decay naturally. Keep the breath before a vocal phrase unless it’s distracting; a singer with no breaths at all sounds artificial.
Clicks at edit points come from cutting the waveform where it isn’t crossing zero, and a short crossfade almost always fixes them. For a single mouth click or pop inside a note, zoom in until you can see it, then cut it out with a tiny crossfade or lower those few milliseconds with clip gain. These are editing jobs: quick, exact, and they add nothing to the sound.
Take hiss, hum and room tone out from under the sound
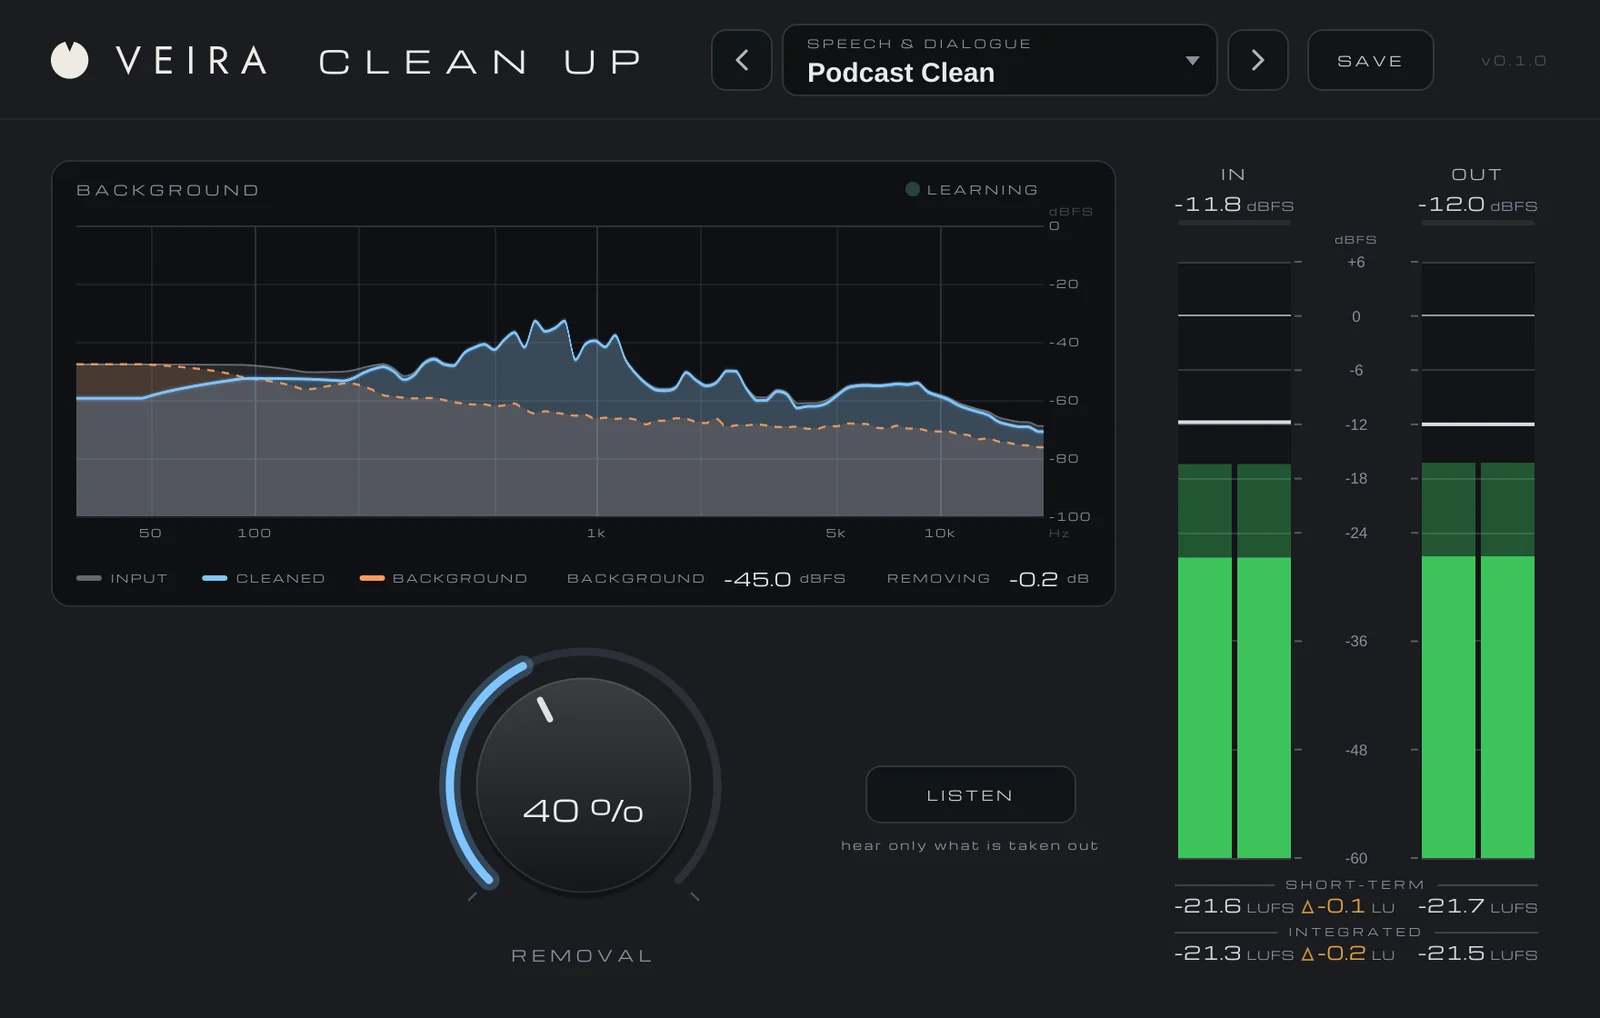
Editing removes the noise in the gaps, but the same noise is still there under every note. That’s the job for VEIRA Clean Up. It has one knob, REMOVAL, and no noise print to capture: it learns the background by itself in the pauses, frequency by frequency, and updates that picture at every pause. A pause of about a second is enough to start, and the LEARNING lamp lights while it listens.
REMOVAL sets how far the background comes down, 0.4 dB for every percent: 10 dB at 25 %, 20 dB at the default 50 % and 40 dB at 100 %. Under the voice, only what is clearly background goes, so the voice keeps its level and its tone. Hum and its harmonics are learned like any other background, so a buzzing amp or a mains hum needs no setting of its own.
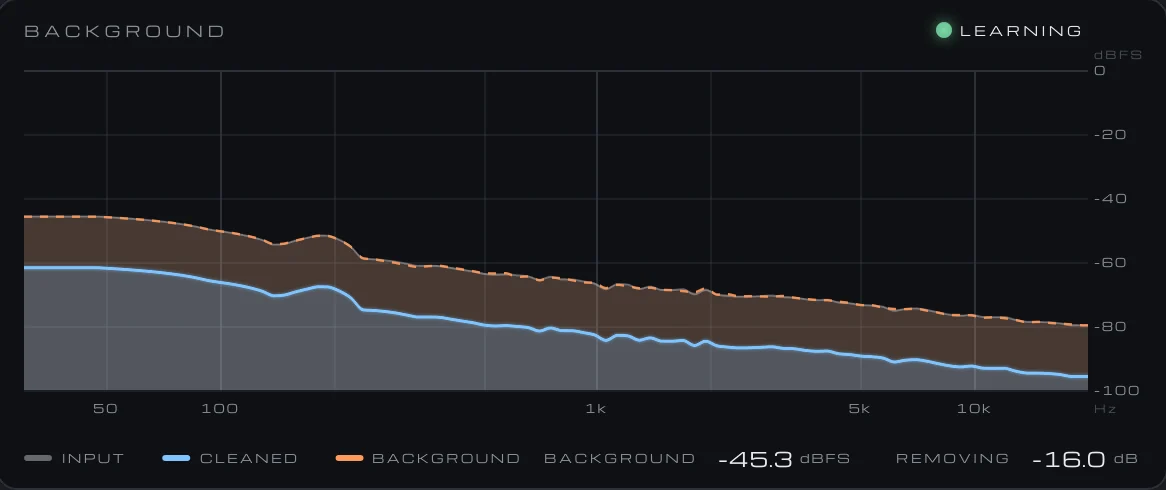
Set it with LISTEN, which plays only what is being taken out. You want to hear the background alone: a steady hiss, a hum, the room. If you can make out words or the ring of a note, REMOVAL is too high, so turn it down until they disappear. LISTEN switches itself off when the host renders offline, so it can’t end up in a bounce by accident.
Two things to know. VEIRA Clean Up needs pauses to learn from: a held note, a guitar that never stops or a dense mix passes through unchanged, so it suits parts with gaps. And it adds a constant latency of 21 ms at 48 kHz, reported to your DAW so everything stays in time. Use it before any compression, which raises the background in the quiet moments.
Control the bleed between drum microphones
Every close microphone on a kit hears the rest of the kit. Some bleed helps the drums sound like one instrument, but cymbals in the tom microphones and hi-hat in the snare microphone get louder with every boost and every bit of compression. Toms that only play now and then are often best edited: delete the regions between the tom hits, with fades. For kick and snare, which play all song long, use VEIRA Gate.
Its waveform shows the output in amber over the input in gray, so you drag the THRESHOLD line into the gap between the bleed and the hits. Start with a fast ATTACK and a couple of milliseconds of LOOKAHEAD so the first transient comes through untouched, HOLD around 20 to 50 ms, and RELEASE following the drum’s natural decay. Set RANGE to 10–20 dB rather than full silence: a little of the room stays, and the gate opens and closes more naturally. KEY LOW and KEY HIGH filter what the gate listens to, never the audio, so a snare gate can ignore the kick.
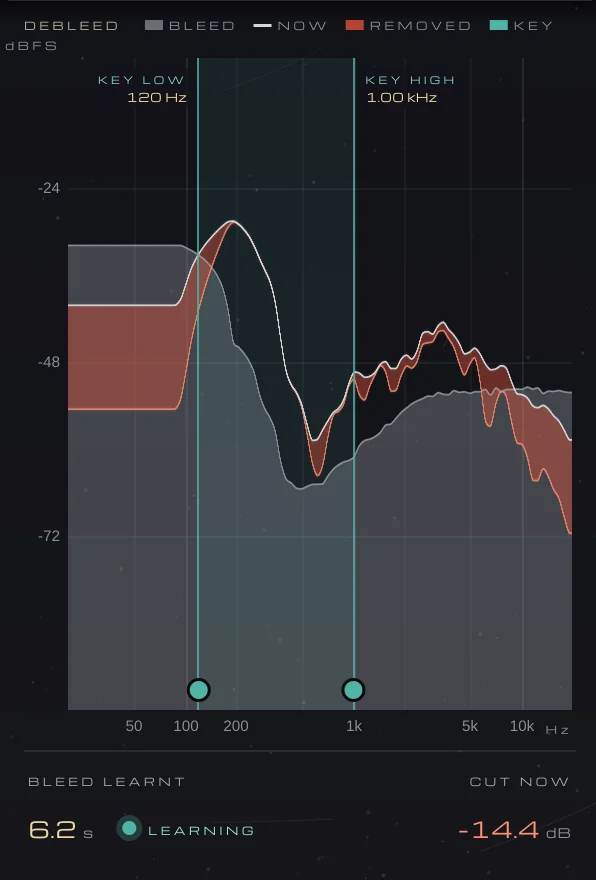
Gating alone only silences the gaps; the hi-hat under each snare hit still comes through. DEBLEED goes further: it learns the bleed’s spectrum while the gate is closed, then turns down the frequencies the bleed dominates and leaves the ones the drum dominates almost untouched. On a snare microphone with bleed 14 dB under the snare, 50 % cuts the bleed under the hits by about 9 dB and costs the snare about 2 dB. Bring it up slowly while you listen to the snare itself, and stop when it starts to lose body. We’ll come back to gating the kick, snare and toms in part 6.
Clean enough, not spotless
The aim isn’t silence, but tracks that won’t cause trouble once you start balancing, EQing and compressing. Check each cleaned track with the others, not only in solo, and against the original: if the clean version sounds thinner, duller or further away, back off. Next comes the first real mixing step: the static balance with faders and panning.