Mastering in a fixed order: what each step of a mastering chain is for
Why mastering engineers rack their units in the same order, what each step does to a finished mix, and how to take a master to its loudness target without losing what made the mix good.
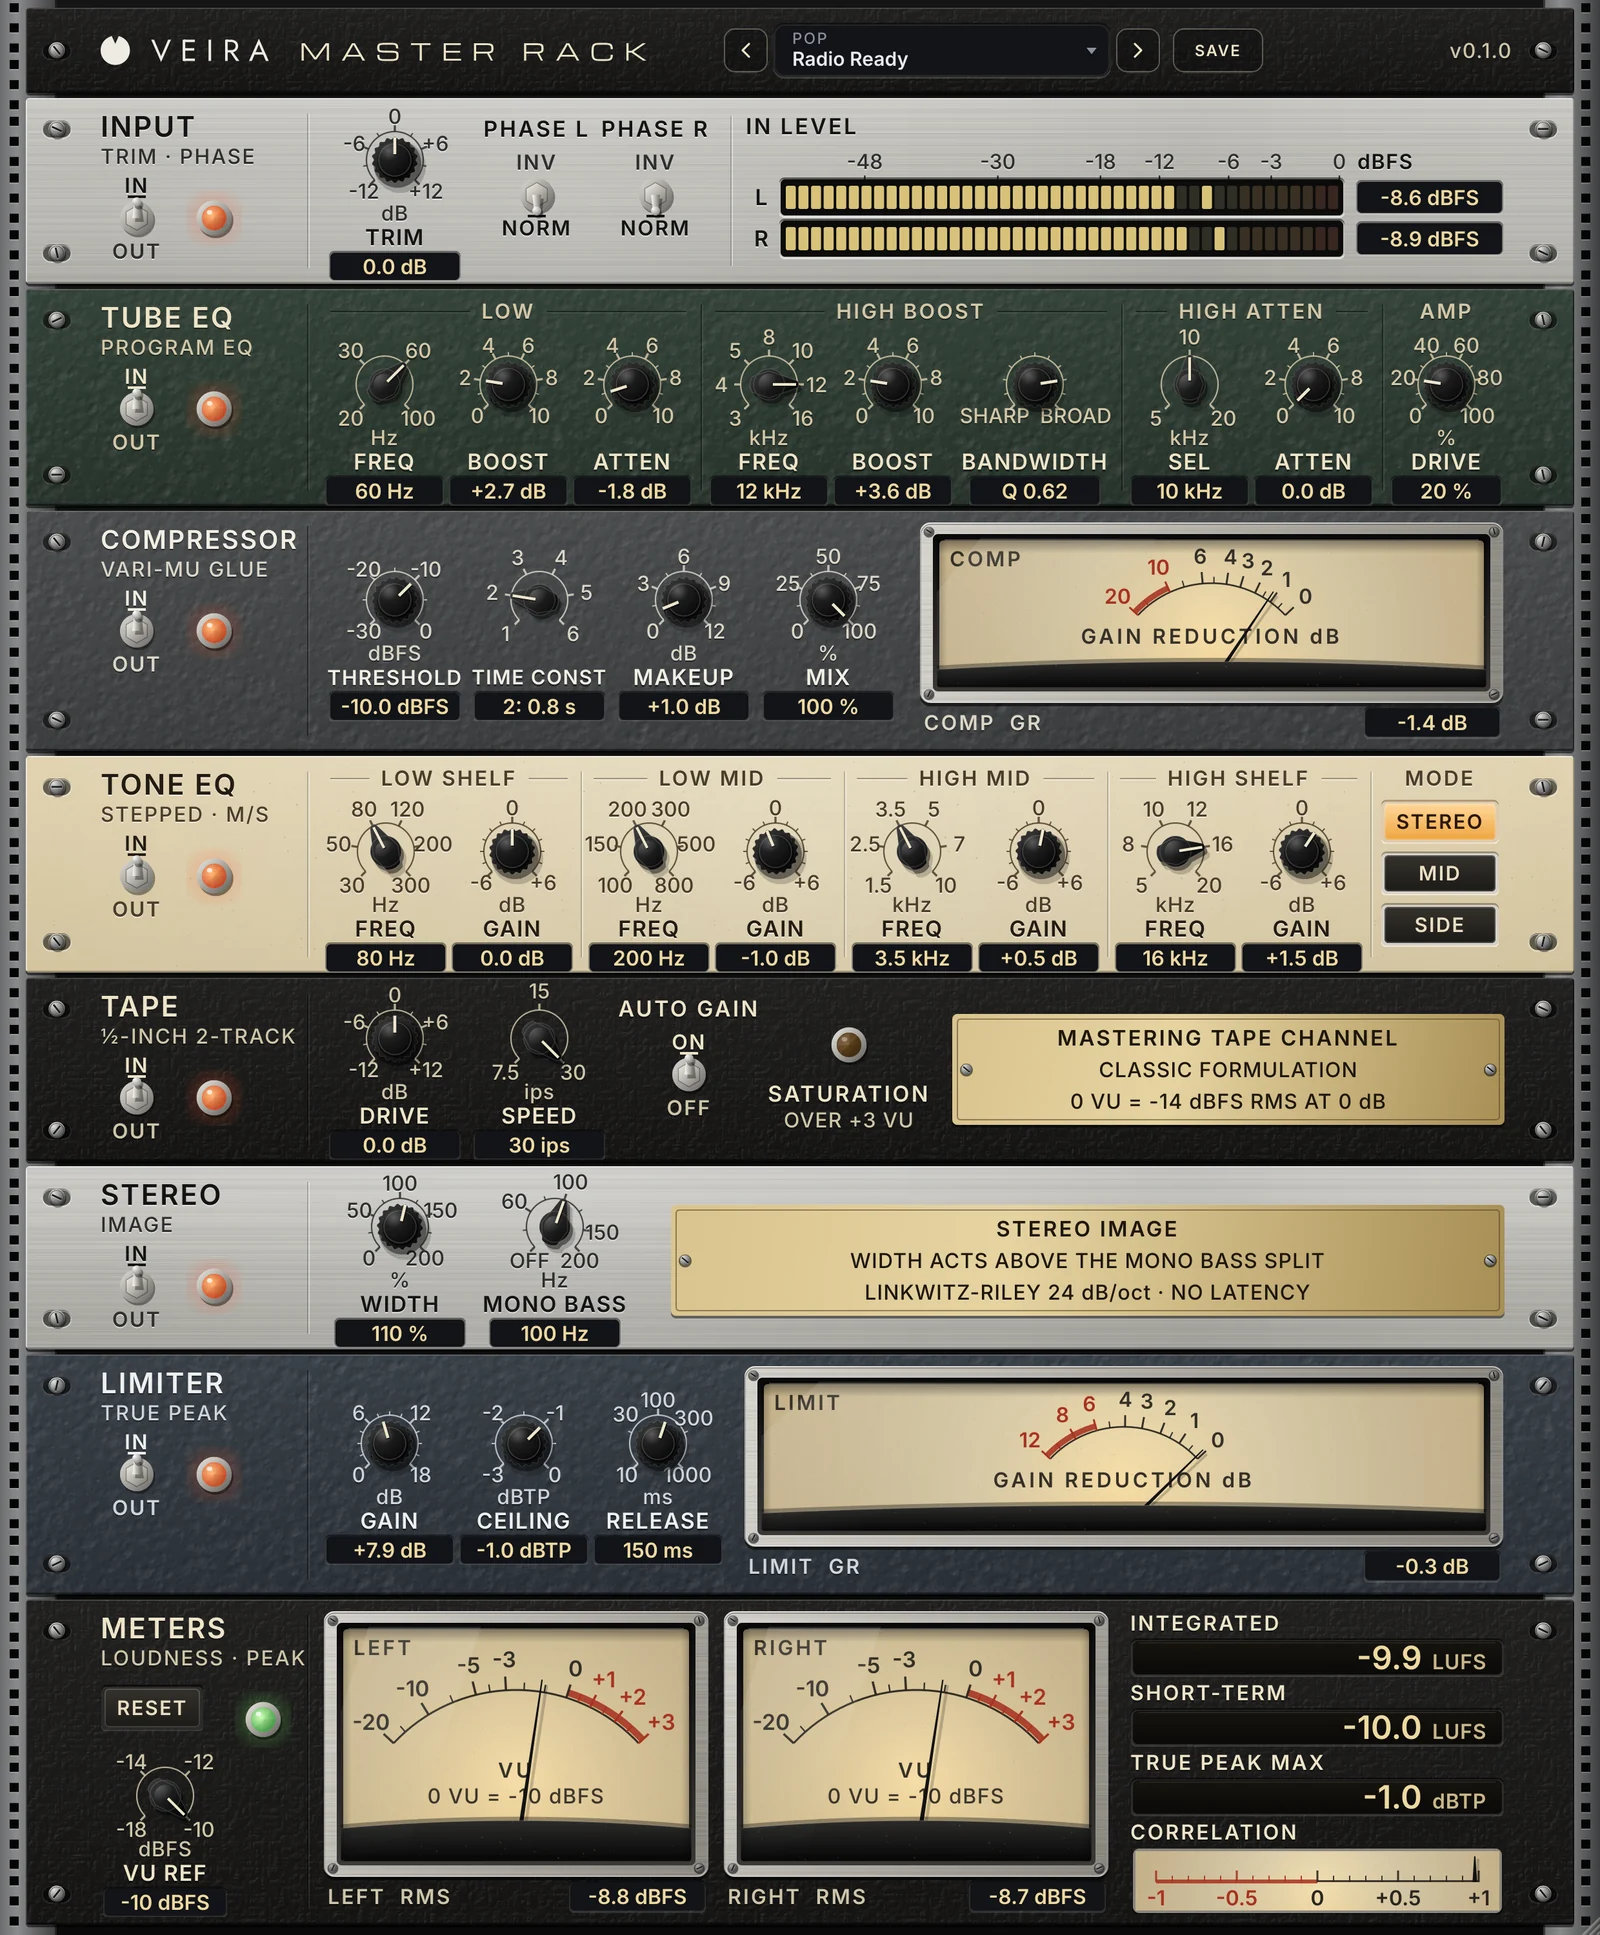
Walk into a mastering room and the chain is usually already wired: the same few units, in the same order, every day. That isn’t habit for its own sake. Each step prepares the signal for the next one, and the order decides how they interact. VEIRA Master Rack is built that way, as one tall rack of vintage units in a fixed order, so it is a good place to see what each step is for.
Level first, broad tone second
Everything after the input is calibrated for a level, so the first job is to set it: aim for the premaster peaking around −6 dBFS. Then come the broad moves, the ones you would describe in words: more weight underneath, less mud, a little air. A passive tube program EQ is ideal here, because its curves are wide and gentle. Turning up the low boost and the low attenuation together gives more bottom with a dip just above it; a broad high boost at 12 or 16 kHz opens the top.

Glue, then the fine details
The compressor goes after the broad EQ, so it holds the balance you just chose. On a master it should hardly be noticed: 1 to 3 dB of gain reduction on the loudest passages, with a slow, programme-dependent release that lets go after a single peak but holds steady through a dense chorus. A vari-mu design suits this, because its ratio rises gently with level. After it, a stepped EQ makes the small corrections: half a decibel of presence, a little less box at 300 Hz. Working on the mid or the side alone lets you lift the lead vocal without touching the width, or add air only to the sides.
Colour, width and the limiter
Tape comes after the EQs, so its saturation and its soft squeeze of the peaks work on the finished balance, and it leaves the limiter a little less to do. The stereo stage comes near the end, so the width you hear is the width you release: keep the low end in mono below 100 to 150 Hz and widen gently above it, watching the correlation meter stay above 0. The limiter is last of the processors, because nothing after it can push a peak over its ceiling.

Hitting the loudness target
- Choose a target: about −14 LUFS for streaming, −12 to −13 for acoustic music and vinyl, −9 to −10 for loud pop, rock, hip-hop and electronic music.
- Raise the limiter’s gain until the short-term loudness of the loudest section sits about 1 LU above the target.
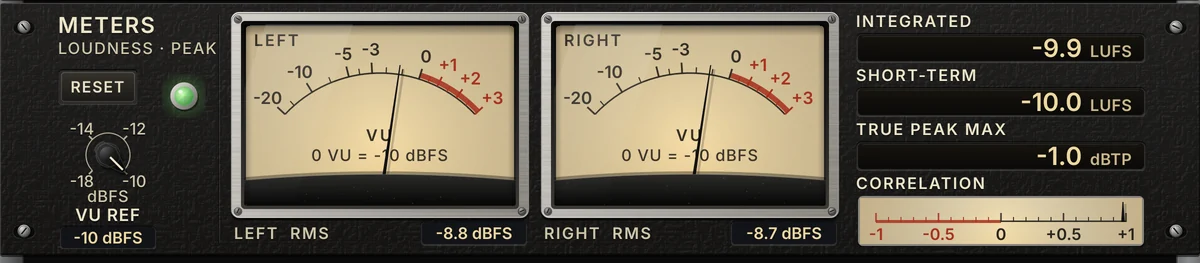
- Reset the meters, play the whole song, and adjust the gain by the difference from the integrated reading.
- Check that the true-peak maximum stays under the ceiling, −1.0 dBTP for streaming.
When a fixed order is the right choice
A fixed chain is fast: the decisions about order are made, and you spend your time listening. If you would rather arrange your own chain, use multiband dynamics or match a reference track, VEIRA Mastering Suite is built for that. For a warm, analog-style master with tubes, vari-mu glue and tape, start from one of the VEIRA Master Rack presets for your genre and loudness, set each unit from the top down, and switch each one out and in to hear what it adds.