Blog · Mixing from start to finish · Part 10 of 20
Building a lead vocal chain: order, clean-up, EQ, two-stage compression and colour
The order to process a lead vocal in, how to clean it up and EQ it, why two stages of compression sound more natural than one, and how to add colour and judge it all at matched loudness.
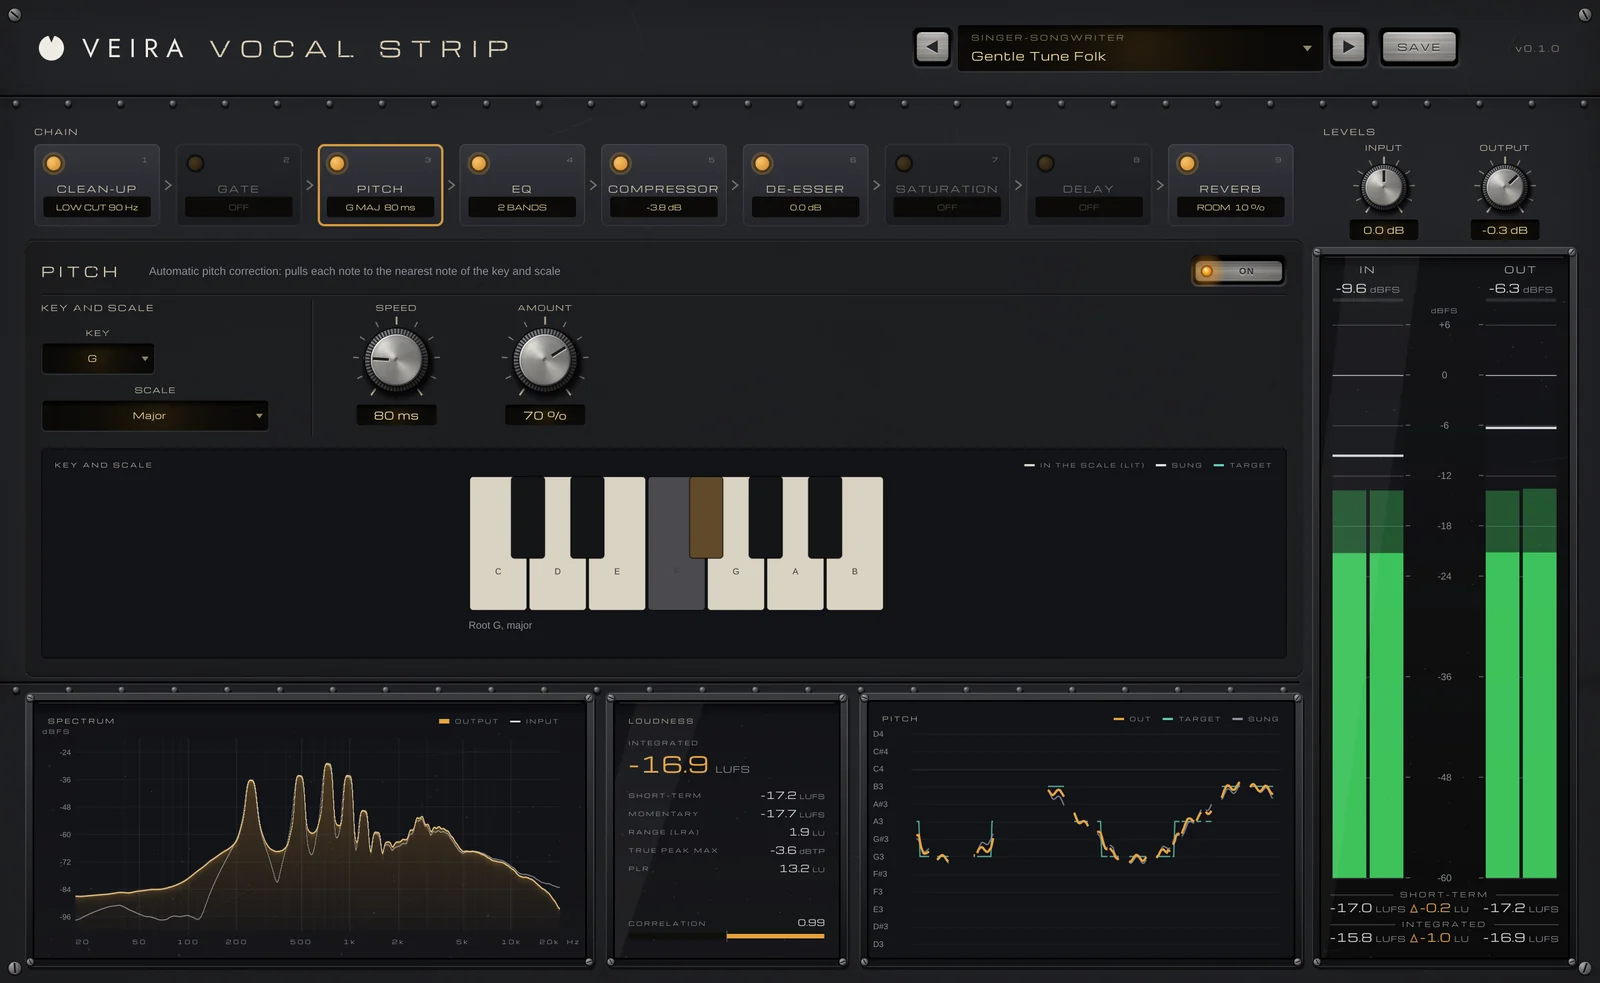
The band is in place: drums, bass, guitars and keys from parts 6 to 9 are balanced around an open space in the middle. Now the lead vocal goes into that space. It is what most listeners follow, so it gets the most careful chain in the session. This part builds that chain; part 11 adds de-essing and riding, and the space around the voice comes later in the course.
Why the order matters
Each stage changes what the next one hears. Clean-up comes first, so nothing later reacts to rumble and plosive thumps. Corrective EQ comes before compression, so a boomy 200 Hz doesn’t drive the gain reduction. Compression sits in the middle to even out the words. De-essing follows the compression and any top-end lift, because both bring sibilance up. Colour comes near the end, and space last. That is the usual order, and the order VEIRA Vocal Strip opens in: nine modules, each with its own display, that you can drag into any order and switch on or off.

When it opens, the standard strip is on: CLEAN-UP, EQ, COMPRESSOR and DE-ESSER. Switch the DE-ESSER off for now: part 11 gives sibilance a step of its own, after the whole chain. Leave DELAY and REVERB off too. The latency is a constant 60 ms at 48 kHz, which keeps the voice in time while you mix, but the plugin isn’t built for monitoring while the singer records.
Clean-up and corrective EQ
Start with the LOW CUT in CLEAN-UP, 80 Hz by default: for most voices 80 to 120 Hz removes rumble and plosive thumps without thinning the voice. Raise it until the voice loses its chest, then back off a little. Leave the HIGH CUT off unless the recording has hiss. If room noise or headphone bleed shows between phrases, switch on the GATE with a RANGE of 10 to 20 dB, not full silence, so the gaps sound natural. For gentle pitch help, set KEY and SCALE to the song’s and give PITCH a SPEED of 20 to 60 ms, which is natural correction.
Then the EQ: five bands placed where a voice needs them, a low shelf at 120 Hz, bells at 300 Hz, 1 kHz and 3.5 kHz, and a high shelf at 10 kHz. Cut before you boost: 2 to 3 dB around 300 Hz takes out the boxy, close-microphone sound many vocals have, and a narrower cut can tame a nasal or harsh resonance. Then small boosts: 1 to 2 dB around 3.5 kHz helps the words speak, and the high shelf adds air. Set it with the music playing, not in solo: the right amount of presence depends on the guitars and keys from part 9.
Two stages of compression, two jobs
A lead vocal often needs 6 to 10 dB of control in total. Doing it all in one stage tends to sound squeezed; two stages in series, each doing a few decibels of a different job, sound more natural.
- Stage one catches the peaks. The COMPRESSOR in VEIRA Vocal Strip looks 2 ms ahead to catch the start of each word, and its detector ignores what’s under 60 Hz, so plosives don’t pump it. Start around RATIO 4:1, ATTACK 5 ms and RELEASE 80 ms, with THRESHOLD set so only the loudest words show 3 to 4 dB of reduction.
- Stage two levels the line. After the strip, VEIRA Comp Gold, a tube optical leveller, does the slow, smooth work. Choose COMPRESS (about 3:1), turn PEAK REDUCTION until the GAIN REDUCTION bar shows 2 to 4 dB on the busy phrases, and bring the level back with GAIN.
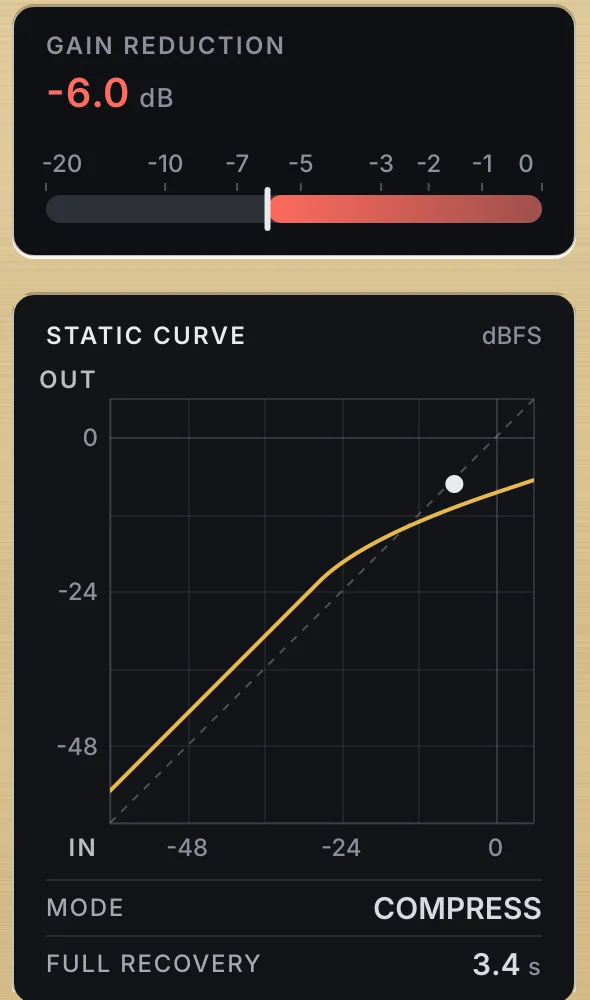
Comp Gold has no attack or release to set: its optical cell lets go of half the reduction in about 60 ms and of the rest over one to fifteen seconds, the longer the harder it has worked. That memory is why a levelled vocal sounds smooth instead of pumping, and FULL RECOVERY under the STATIC CURVE shows how long the cell would take to let go right now. Set SC HPF so a plosive or a low note doesn’t pull the whole line down. Leave EMPHASIS at 0 % for now: it makes bright moments level more, but sibilance is the subject of the next part.
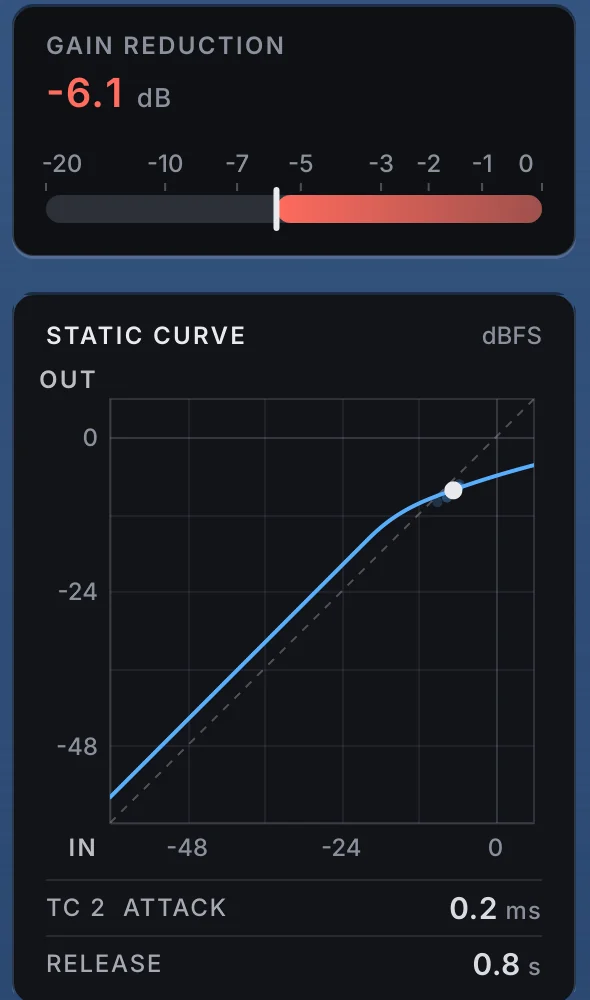
For a different second stage, try VEIRA Comp Blue, a vintage tube vari-mu design. Its ratio rises with level, from about 1.2:1 at the threshold to 3.9:1 at 26 dB over, so nothing is ever grabbed. It suits a voice that should sound thick and held rather than tight. TIME CONSTANT 5 and 6 are programme-dependent: after sustained compression their release lengthens, so a loud chorus is held steadily instead of breathing.
Colour, then judge it fairly
Colour is the last touch: a few harmonics make a voice sound denser and closer and help it stay audible on small speakers. There are three places for it here. SATURATION in the strip, TUBE or TAPE, has AUTO GAIN, so DRIVE changes the colour, not the loudness; start with a few decibels of DRIVE and MIX around 50 %. TUBE on Comp Gold is led by the 2nd harmonic; try the default 30 % or a little more. COLOUR on Comp Blue adds mostly odd harmonics and grows with level. Pick one, not all three: stacked colour quickly turns harsh.
Above all, judge every stage at matched loudness, because a louder vocal always sounds better for a moment. Each of these plugins shows the difference between out and in, in LU, on its meters: set OUTPUT, or GAIN on Comp Gold, until it reads about 0 LU, then bypass and compare. If the processed vocal doesn’t sound better at the same level, it isn’t better.
- Too much compression: the breaths come up as loud as the words and the voice sounds flat. Back off stage one first.
- Too much around 3 to 5 kHz: the voice is clear in solo and harsh in the mix.
- Too much colour: the vocal sounds fuzzy on the loud notes. Turn it down until you miss it, then add a touch back.
With the chain in place, play the whole song. The vocal should sit in one place in front of the band, every word heard, without sounding pinned. What’s left, the “s” sounds and the odd word that still drops away, is what part 11 is for.