Blog · Mixing from start to finish · Part 3 of 20
The static mix: building a balance with faders and panning
How to build a first balance with only faders and pan knobs: which element to start from, the order to bring the rest in, how much headroom to leave on the mix bus, where to pan, and how to check it all in mono.
With the session prepared in part 1 and the tracks cleaned up in part 2, it’s time to start mixing. The static mix is a balance made with nothing but faders and pan knobs: no EQ, no compression, no effects. It may be the most important step of the course: a good static mix already sounds like a record, and a bad one can’t be rescued by plugins.
Start from silence and from the most important element
Pull every fader all the way down, then decide what the song is about: usually the lead vocal, sometimes a riff, a beat or a piano part. Some engineers build up from the drums, others fit everything around the vocal; either way, the most important element gets its level first and everything else is placed relative to it. A practical order for a band:
- Bring up the lead vocal, or the main element, to a comfortable level in a loud chorus.
- Add the kick and snare until they feel solid against the vocal, then the rest of the drums.
- Add the bass until the low end feels full but the kick still punches through.
- Add the main harmonic instruments, guitars, piano or keys, just under the vocal.
- Finally add the extras: pads, percussion, backing vocals, small details. Bring each up until you just hear it, then decide whether it needs more.
Bring each fader up from silence rather than down from loud. It’s easier to hear when something arrives than when it disappears, and you end up with fewer parts fighting for attention. Balance the loudest section first; if the chorus works, the verses usually need only small changes.
Leave headroom on the mix bus
As tracks come in, the mix bus gets louder. Keep it well below 0 dBFS: peaks somewhere around −6 dBFS leave room for the processing still to come, for the mix bus stage and for mastering. If the bus gets too hot, pull all the faders down together or lower the group buses, rather than reaching for the master fader.
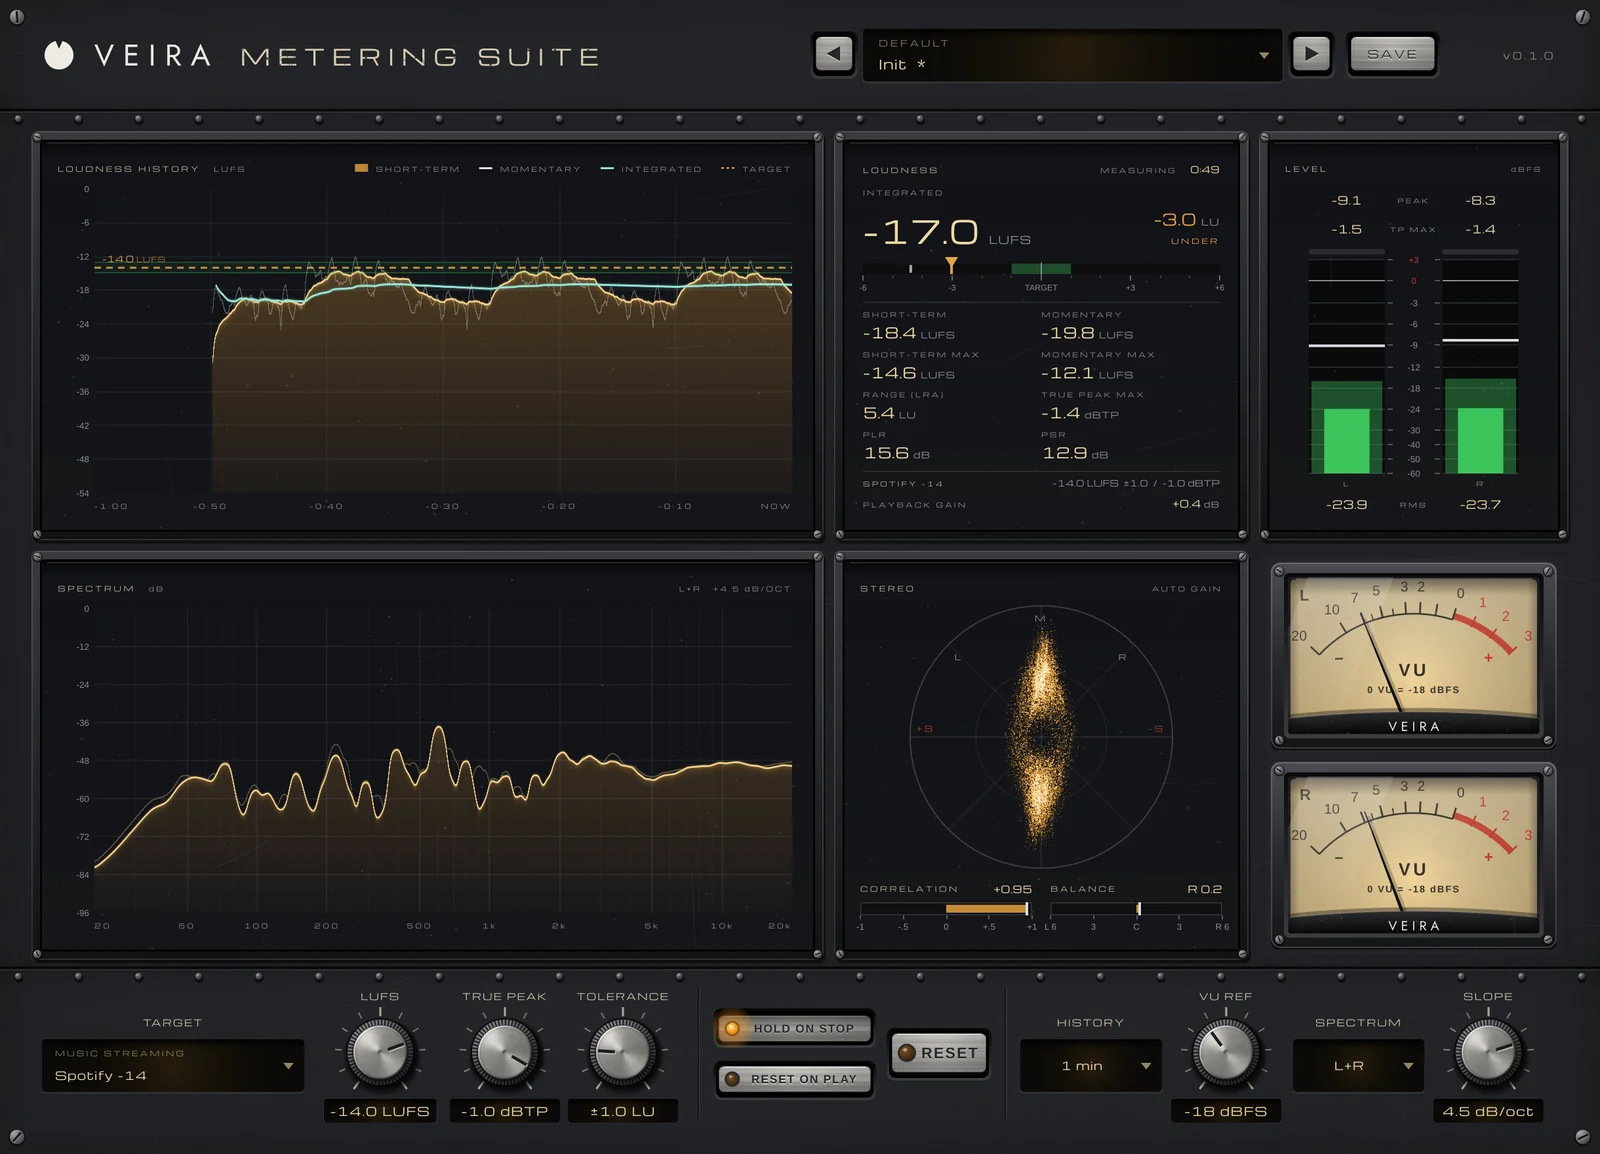
Put VEIRA Metering Suite on the mix bus to watch this. LEVEL shows left and right peak and 300 ms RMS with a 2 s peak hold, and TP MAX turns red when the true peak passes the limit. The LOUDNESS panel shows short-term and integrated loudness, so you can keep the mix at a steady loudness and compare it with your level-matched references from part 1.
Panning: give every part its own place
Pan knobs are your second tool. They let instruments that clash in level and frequency sit side by side instead of on top of each other. A few conventions that work in most mixes:
- Keep the low end and the focus in the center: kick, snare, bass and lead vocal.
- Pan pairs and doubles opposite each other: two rhythm guitars hard left and right, double-tracked backing vocals either side.
- Pan the overheads and toms from either the drummer’s or the audience’s point of view, and keep it consistent across the kit.
- Put single instruments that compete in the same range on opposite sides, such as a shaker left and a tambourine right.
Use the whole width, not just a little either side of center, but keep the two sides balanced: if the left is busier and louder than the right, the mix leans. Panning also changes level, because most DAWs apply a pan law that lowers a centered signal compared with a hard-panned one, so recheck the fader after a big pan move.
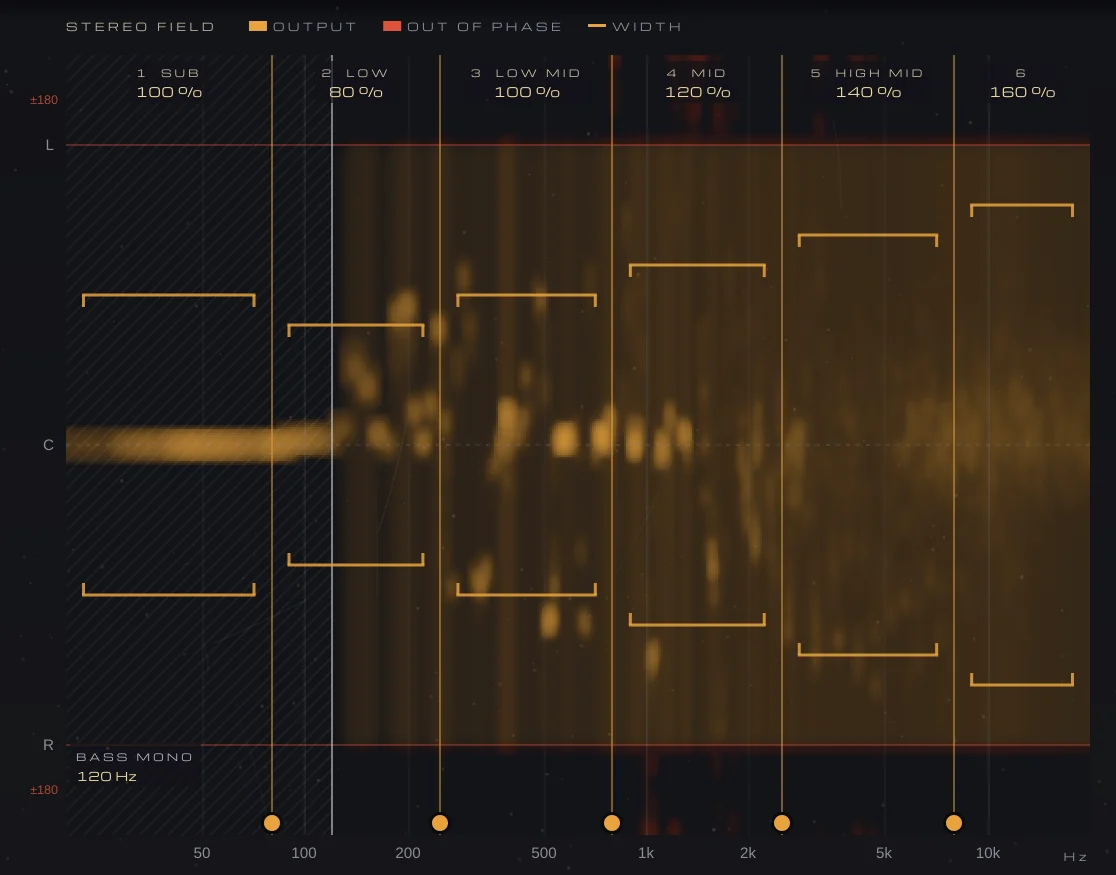
VEIRA 6-Band Stereo Imager works as a map here. Its STEREO FIELD runs from 20 Hz to 20 kHz across and from L through C to R, and places each frequency of the output where its left and right put it: a mono sound at C, a hard-panned one at L or R. On the mix bus it shows whether the guitars are really spread, whether too much crowds the center and whether the low end sits in the middle. With every band at 100 % and nothing else on, the output is the input, delayed, bit for bit, so here it only shows you the picture.
Check the balance in mono
Plenty of people still hear music in mono or close to it: phone speakers, small single speakers, ceiling speakers in shops. A mono check also tests the balance itself: folded down, hard-panned parts lose their separation, so anything that was only audible because of its panning gets buried. If the vocal or the snare sinks in mono, the balance leans too much on width.
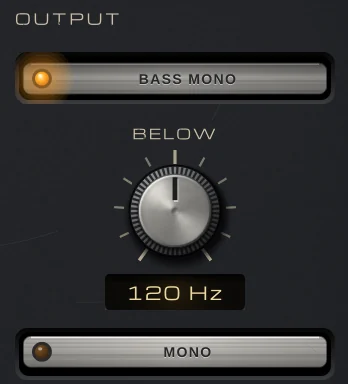
Press MONO on VEIRA 6-Band Stereo Imager to hear the output summed to mono; it’s a listening aid, left out of offline bounces, so you can’t print a mono mix by mistake. Listen for three things: does anything drop or vanish, does anything sound hollow or phasey, and is the vocal still right against the band? Fix what you can with the faders. If two parts cancel each other in mono, the cause is phase, not the balance: check the recordings’ polarity and timing. Part 17 goes deeper into width and mono.
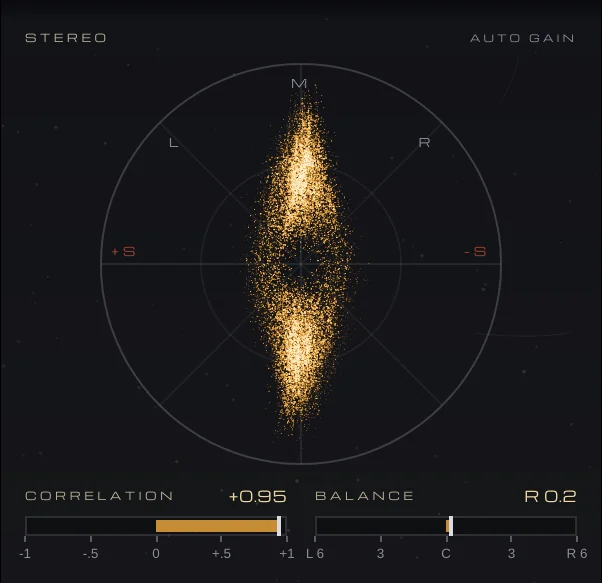
VEIRA Metering Suite confirms what you hear. Its STEREO panel draws a vectorscope, and CORRELATION reads +1 for mono, 0 for unrelated and below 0 for out of phase. A healthy mix mostly sits between 0 and +1; a reading that keeps dipping below 0 means something will cancel in mono. BALANCE shows the level difference between left and right in dB, so a mix that leans to one side shows up there too.
Live with the static mix for a while
Once everything is in, take a break, then listen from start to finish with fresh ears at your usual level, without touching anything. Write down what bothers you: the vocal drops in the second verse, the guitars are too loud in the bridge, the bass disappears on small speakers. Some of it is a fader move you can make now; the rest is what EQ, compression and automation are for, each in its own part. Save a copy of this balance so you can always come back to it: many final mixes aren’t far from a well-made static mix.