Tape saturation: what it does to a mix and how much to use
What tape actually does to a sound – soft saturation, a head bump, a softer top and a little movement – and how to set the level so it adds warmth without mud.
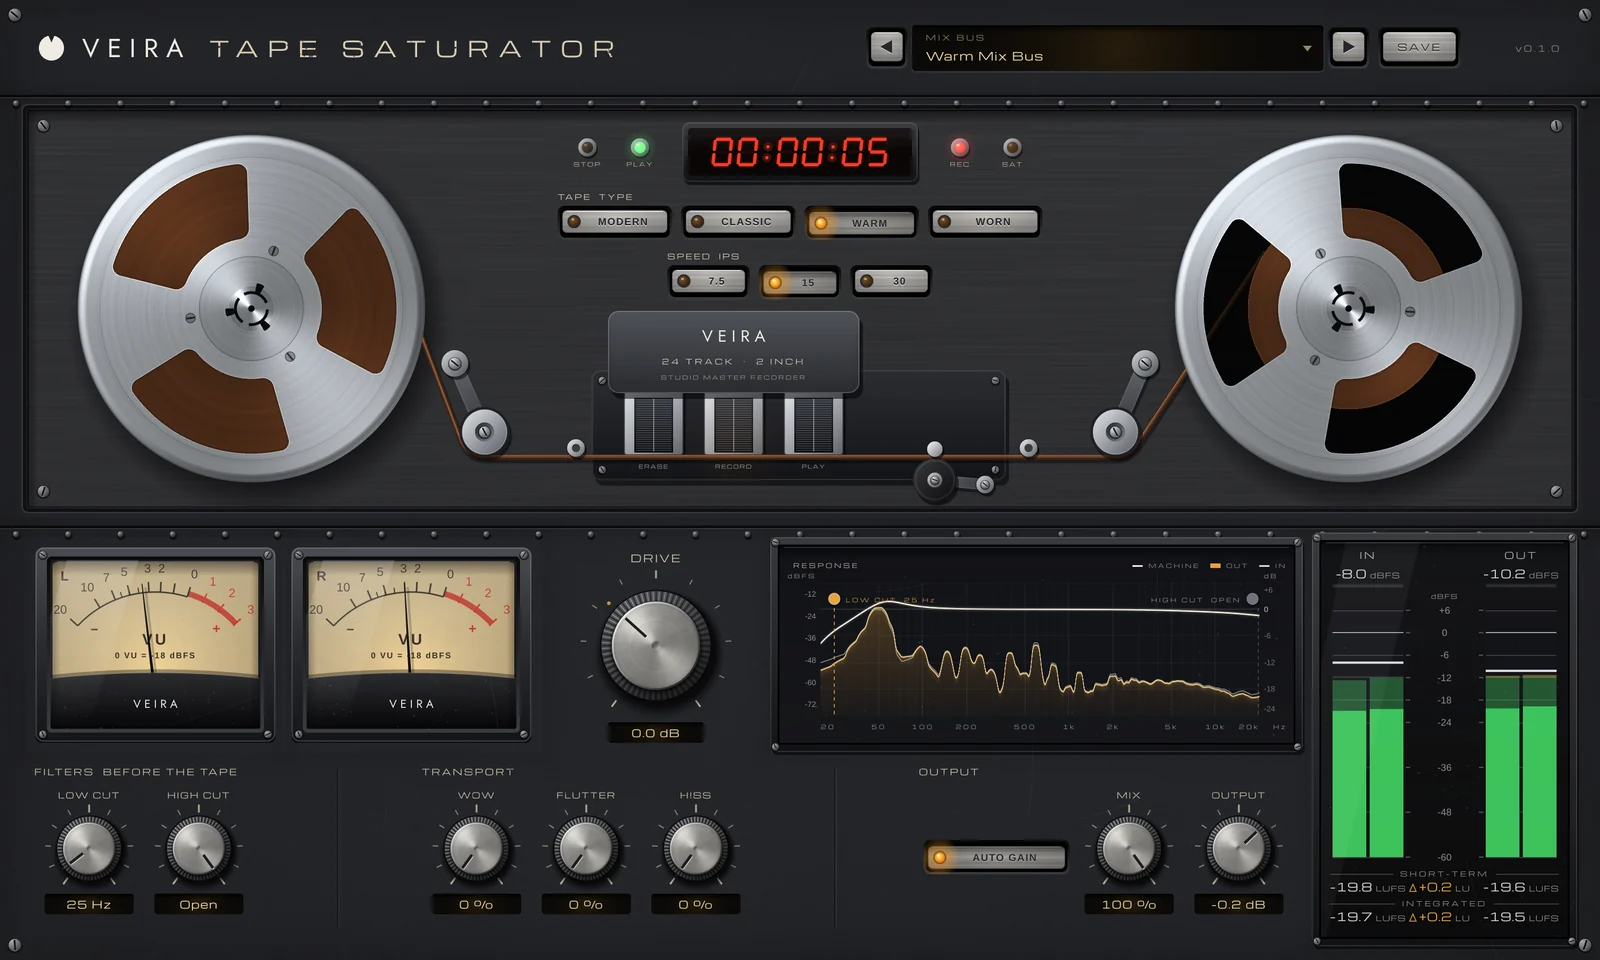
“Warm” is the word everyone uses for tape, and it doesn’t tell you much. Recording onto analog tape and playing it back does a handful of specific things to a sound, and each one helps or hurts depending on the source and how hard you hit it. Once you know what they are, you can use tape saturation on purpose instead of putting it on everything and hoping.
What tape does to the sound
Tape doesn’t clip like a digital channel. Quiet signals pass almost unchanged, while loud peaks are rounded off softly and pick up harmonics along the way. Playback also shapes the tone: the low end gets a lift called the head bump, and slower tape softens the very top. Underneath it all, the transport never runs at a perfectly steady speed, and the tape adds a little noise of its own.
- Saturation: loud peaks rounded off, harmonics added, transients a little softer.
- Head bump: a lift in the lows, at a lower frequency on slower tape.
- A softer top: slower tape is less extended up high and saturates loud highs sooner.
- Movement and noise: wow, flutter and hiss.
Set the level by the meter
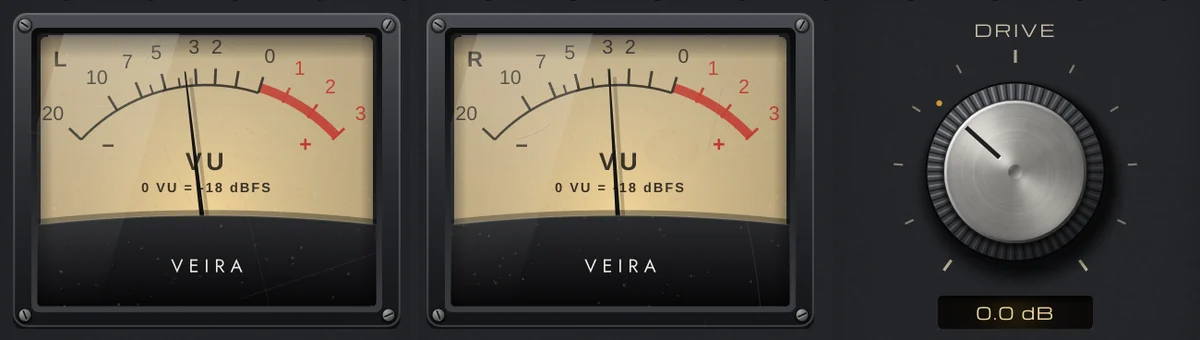
On a real machine, engineers set the record level on VU meters. In a DAW, 0 VU is often lined up to around −18 dBFS RMS, which is a common reference. Around 0 VU, tape stays mostly clean; push the meters a few dB higher and the saturation starts to show. Because the effect depends on how hard the tape is hit, the input level matters as much as any setting. When you compare, match the output level, or the louder version will sound better whether it is or not.
Choose the speed and the tape for the job
Tape speed changes the tone more than many people expect. Faster tape tends to keep the lows tighter and the top open, while slower tape puts the head bump lower, rolls off more of the highs and saturates bright sounds sooner, which suits a darker, older feel. Tape formulations differ too: some are clean with lots of headroom, others saturate earlier and add more even harmonics.
How much to use
Drums can take a fair amount: tape rounds off the sharpest peaks and makes them sit more easily. Bass gets more even and fuller. Vocals usually want a lighter touch. On the mix bus, keep it subtle: if you can clearly hear it switch in at matched level, it may be too much for a whole mix. Filter before the tape, so rumble and harsh cymbals don’t drive the saturation, and blend tape in parallel when you want its tone without its squash.
Doing it with VEIRA TAPE
VEIRA Tape Saturator is a 2-inch, 24-track studio tape recorder. DRIVE sets how hard the tape is hit, from −12 to +24 dB, and two VU meters with real VU ballistics show what the tape receives, after the filters. 0 VU is a sine at −18 dBFS RMS, so a track peaking around −8 dBFS sits a little under 0 VU at DRIVE 0. As the tape saturates, the RECORD head glows and the SAT lamp lights.
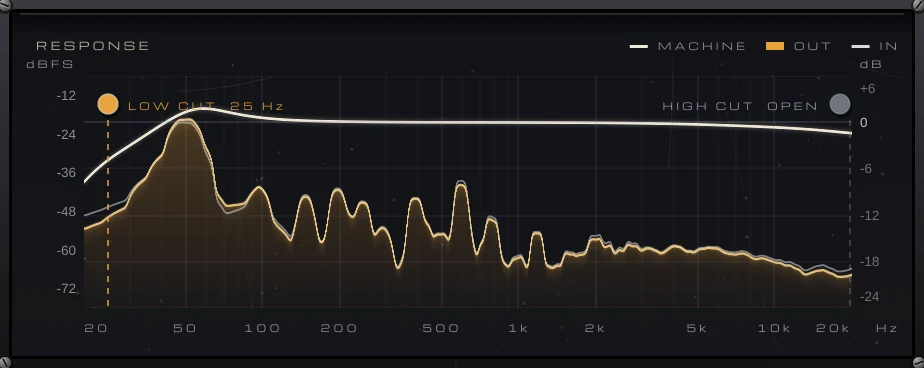
TAPE TYPE picks the tape: MODERN is clean with lots of headroom, CLASSIC adds a touch of 2nd harmonic, WARM has less headroom and a bigger head bump, and WORN brings grit even at low levels. SPEED is 7.5, 15 or 30 ips, with the head bump at about 32, 55 and 100 Hz, and the RESPONSE display draws the machine’s curve over your spectrum.
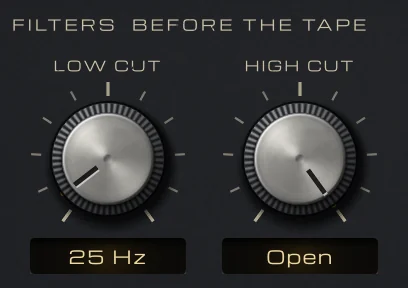
AUTO GAIN, on by default, takes DRIVE back off after the tape, so DRIVE changes the saturation and not the level, which makes matched comparisons easy. LOW CUT and HIGH CUT sit before DRIVE and the tape at 12 dB/octave, so they decide what reaches it. MIX blends the tape with the dry signal, lined up by the latency, for parallel tape.
WOW, FLUTTER and HISS add the transport’s speed changes and the tape’s noise, and HISS at 0 % is true silence. Outside the Mastering folder, every one of the 76 presets stays within 0.2 dB of bypass, so you can hear the tape, not a level jump.