Multiband compression: controlling one part of the spectrum at a time
When a multiband compressor is the right tool, where to put the crossovers, how much to compress each band, and how to keep the result from sounding thin or uneven.
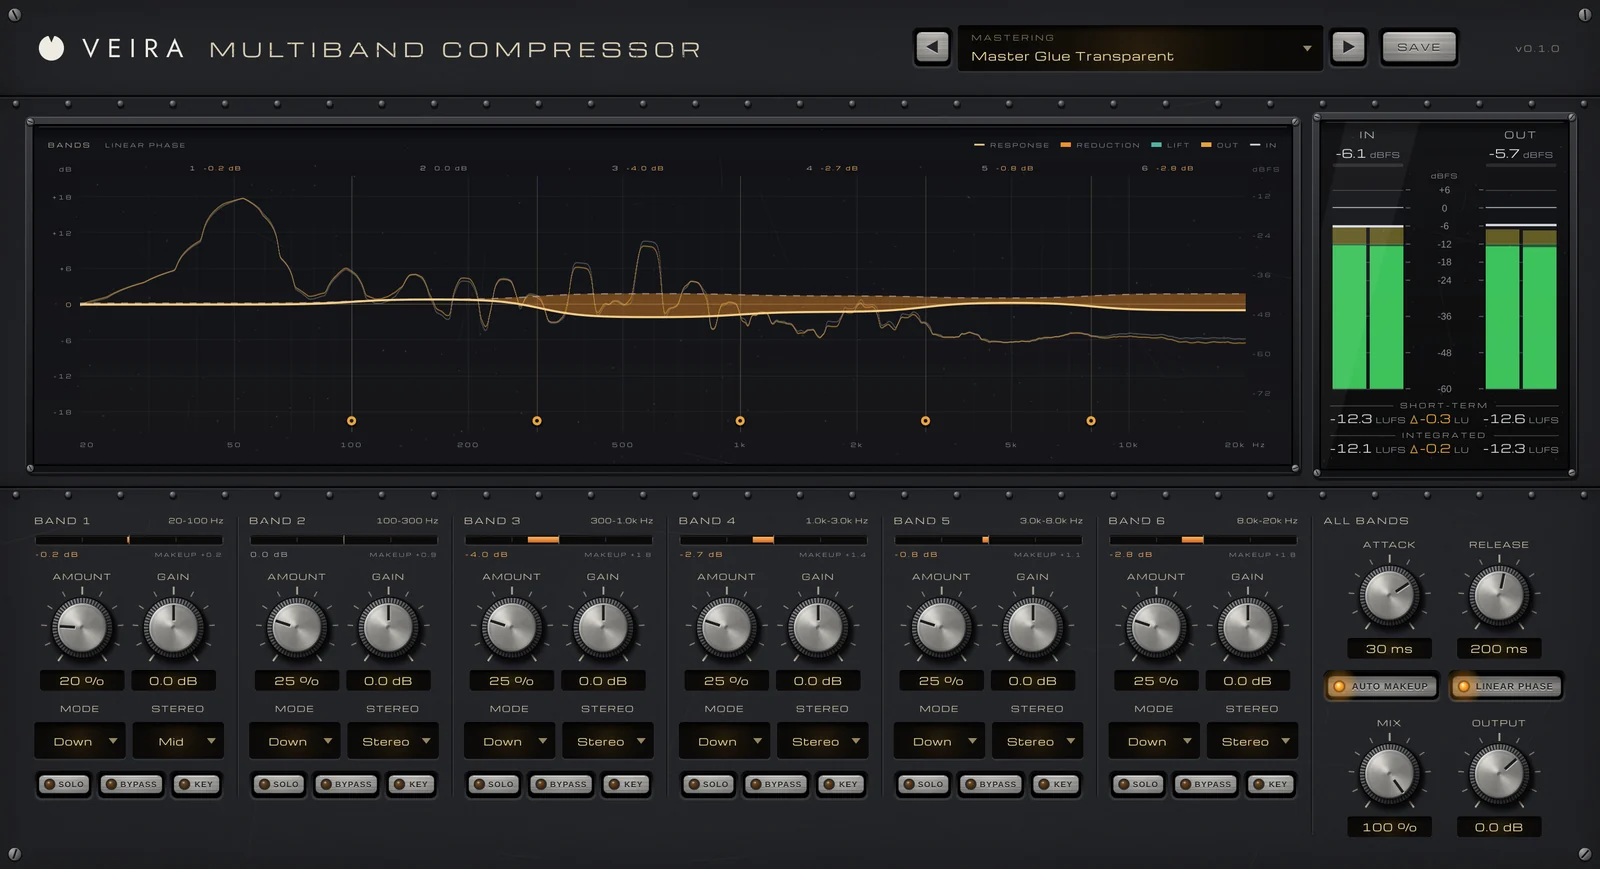
An ordinary compressor reacts to the whole signal at once. A booming bass note turns the whole track down, a loud kick makes the cymbals dip with it, and a harsh vocal note pulls the warmth down along with the edge. A multiband compressor splits the sound into frequency bands and compresses each one on its own, so you can control the part of the spectrum that misbehaves and leave the rest alone.
When to reach for multiband
Multiband is the tool for problems that live in one range and only show up some of the time: a bass whose low notes boom while the high ones don’t, a vocal that turns harsh only when the singer pushes, a mix where the low end swells under every kick. If the problem is always there, an EQ is simpler. If the whole track is uneven, a regular compressor usually sounds more natural.
Put the crossovers where the instruments are
Crossovers decide what each band contains, so place them by ear, not by habit. As rough guidance, the sub and the kick’s weight sit below about 100 Hz, body and warmth from there to a few hundred Hz, boxiness and mud in the low mids up to around 1 kHz, presence and harshness somewhere between about 2 and 5 kHz, and air above roughly 10 kHz. Solo each band and move its edges until it holds just the problem. You rarely need to work on every band: two or three active bands with the others left alone is common.
Compress gently, band by band
A few decibels of gain reduction on the bands that need it is usually enough. Low frequencies have long waveforms, so the lows tend to want slower attack and release than the highs, or they distort and pump. Give each band its level back after compressing, then compare with bypass at matched loudness, so you judge the control and not the level.
- Booming bass: compress only the low band, so the heavy notes come down and the rest of the bass stays.
- Harsh vocal: compress the presence range on the loud notes only, much like a dynamic EQ.
- Mix bus: a little control on the lows keeps kick and bass steady without touching the vocal.
- Upward compression on a band lifts quiet detail, such as room sound and tails, instead of pushing the loud parts down.
Listen for what goes wrong
Heavy compression in neighboring bands can make a mix sound thin or uneven, because the tonal balance starts to change with the level. Crossover filters can also shift phase around the split points; for mastering, linear-phase bands avoid that at the cost of some latency. If a move only sounds better when it’s louder, take it back.
Doing it with VEIRA MULTIBAND
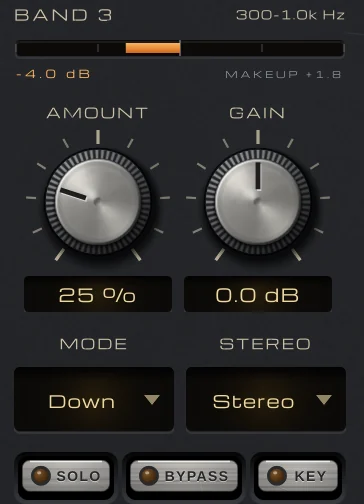
VEIRA Multiband Compressor splits your track into six bands and evens each one out with a single AMOUNT knob, plus GAIN from −18 to +18 dB. AMOUNT works against the band’s own long-term level, not a threshold in dBFS, so the same setting does the same on a quiet track as on a loud one. MODE sets what each band does: DOWN turns its loud moments down (up to 8:1 at 100 %), UP brings its quiet moments up, and BOTH pulls the band towards its own level from both sides. STEREO works on the whole band, its MID or its SIDE only.
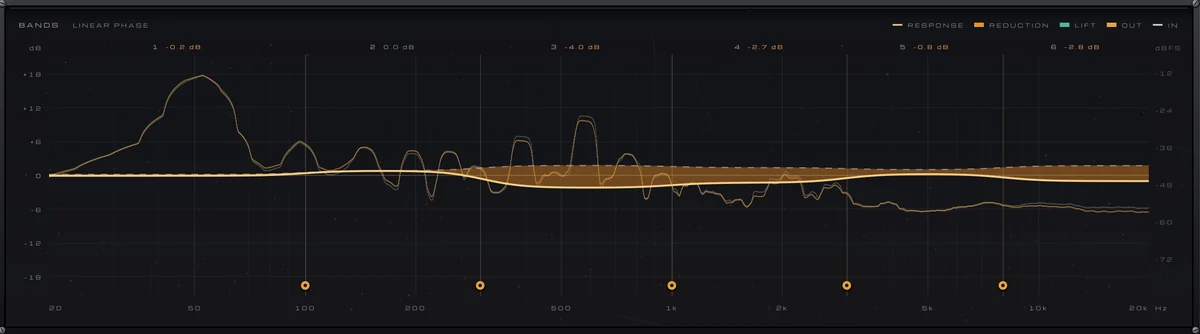
You drag the five crossover handles along the bottom of the display, from 30 Hz to 16 kHz, and double-click one to put it back. By default the crossovers add no latency and add up flat within 0.01 dB; LINEAR PHASE switches to linear-phase bands for mastering, for 24 ms of latency reported to your DAW. The display shows orange where a band is being turned down and teal where it’s lifted, with a dashed line where each band sits on average.
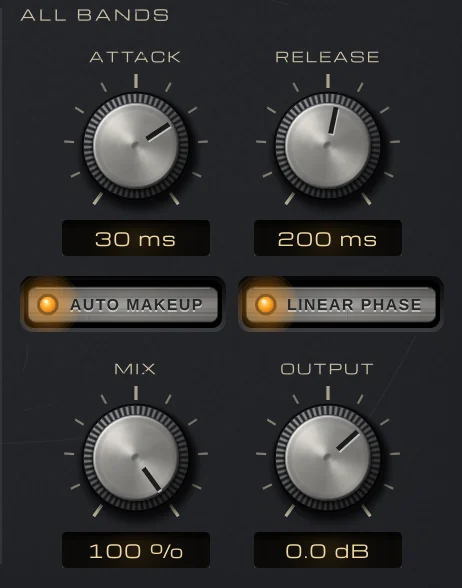
AUTO MAKEUP gives each band back what its compression takes on average, so evening a band out doesn’t make it quieter. ATTACK and RELEASE are shared and scaled per band, slower in the lows and quicker in the highs, and MIX blends in the dry bands for parallel compression that stays in phase. KEY makes a band listen to the same band of the sidechain input, so a bass’s lows can dip under each kick.
The meter bridge shows OUT − IN in LU, which makes the matched-level comparison easy, and among the 75 presets, from Drums and Vocals to Mix Bus and Mastering, the regular ones change the level against bypass by at most 0.28 dB.