Eight ways to saturate: choose the style, split the bands, keep the level
How to use saturation with VEIRA Saturator: what a curve adds, which of eight styles suits the job, how to judge it at the same level, when to split it into bands, and how to blend and move it with the music.
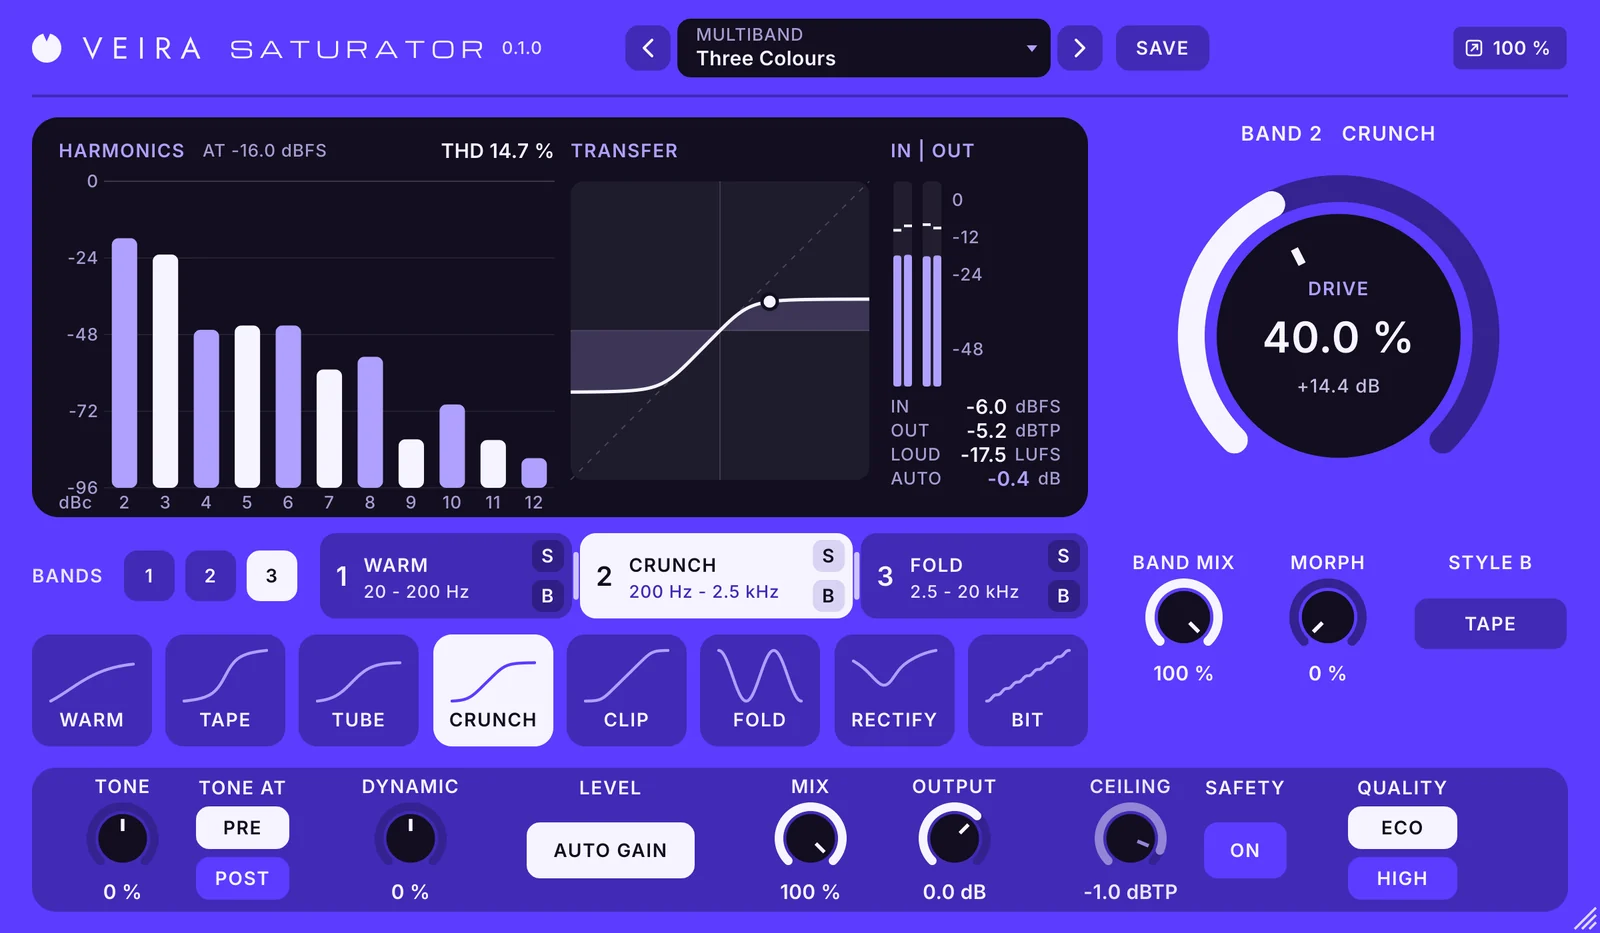
Saturation is the most useful colour in a mix. A little makes a bass heard on small speakers, a vocal sit forward and a drum bus sound like one kit; a lot turns a synth into a growl or a guitar into a fuzz. VEIRA Saturator has eight ways of doing it, up to three bands to do it in, and a level that stays put while you decide. This is how to use it.
What saturation adds
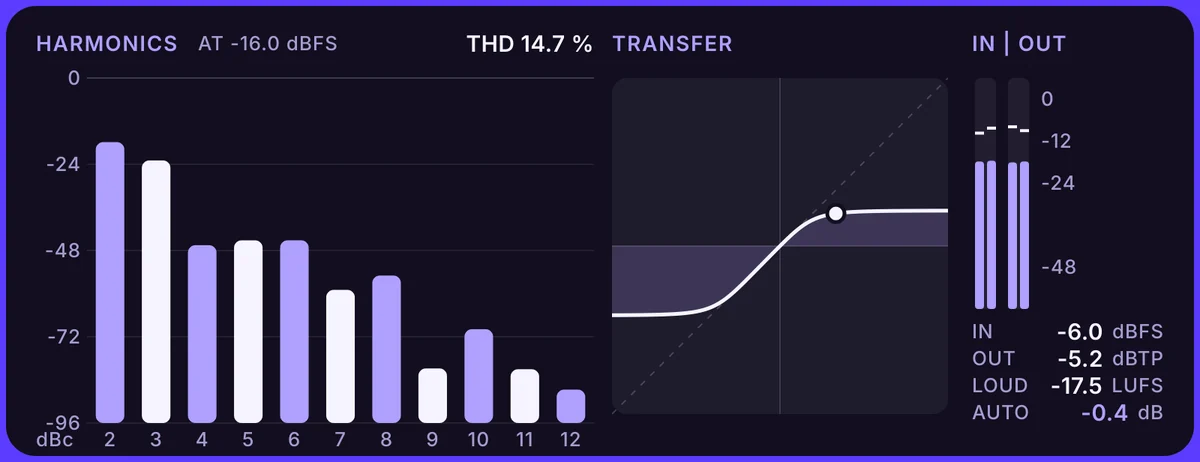
A saturator sends the music through a curve. Where the curve is straight, nothing changes; where it bends, the wave changes shape, and a changed shape means new tones at 2, 3, 4 and more times each note: harmonics. Even harmonics, led by the 2nd, an octave up, thicken and warm a sound without changing what it is. Odd harmonics, led by the 3rd, make it firmer and edgier. DRIVE sets how far into the bend the music goes.
Choose the style by the job
Each STYLE is a different curve, so each makes a different set of harmonics. Pick it at a fairly high DRIVE, where the character is easy to hear, then turn DRIVE down until it sits.
- WARM: mostly the 2nd harmonic, thickness without edge. Bass, kick, vocals, a thin mix.
- TAPE: a soft knee and odd harmonics that round the peaks and glue. Drum and mix buses, pads, acoustic guitar.
- TUBE: the 2nd and the 3rd, warmth with presence. Guitars, electric piano, snare, vocals.
- CRUNCH: a firm, gritty clip. Drums, rhythm guitar, organ, and in parallel on a vocal.
- CLIP: clean until a short knee into full scale, to shave peaks without colouring the rest.
- FOLD, RECTIFY and BIT: a wavefolder’s metallic tones, an octave-up fuzz on loud notes, and digital grain with a lower sample rate. Effects, used with intent.

Judge the colour, not the volume
Driving a curve harder makes a sound louder, and louder always seems better for a moment. That is why so much saturation ends up overdone. VEIRA Saturator’s AUTO GAIN gives back what the curve takes at once, then matches the loudness to the input over the last three seconds, so DRIVE changes the colour and not the level. Bypass the plugin to compare: if the track still sounds better at the same loudness, the saturation is doing its job. Switch AUTO GAIN off only when you want DRIVE to add level too, for example to push CLIP into full scale for loudness.
Split it into bands
One curve on a whole bass or a whole mix is driven by its loudest part, usually the low end, and the low end is where distortion turns to mud first. Split the sound and each band meets its own curve. With two bands at 100 to 150 Hz, keep the sub clean and drive the growl above it. With a crossover at 4 to 6 kHz, drive only the air for a harmonic sheen. With three bands, give each range its own character: tape on the lows, a tube on the mids, warmth on the top. Solo a band to hear exactly what you are driving, and bypass one to keep it clean. Undriven, the bands add back to the input flat, so only what you drive changes.

Blend two styles, or blend in parallel
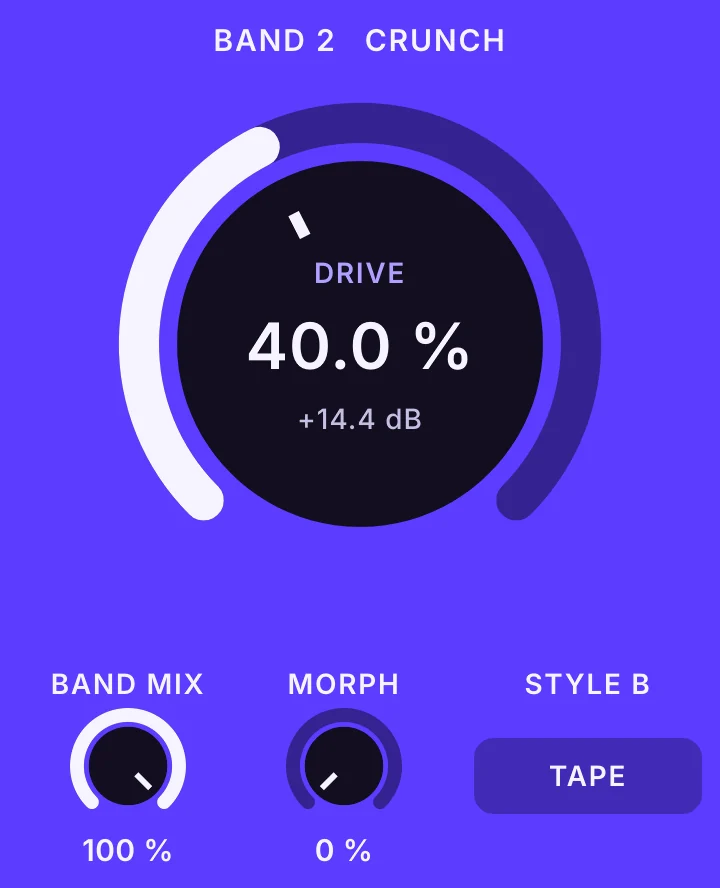
MORPH blends a band’s STYLE into a second one, STYLE B, curve point by curve point: a tube with a touch of crunch, or a fold halfway into a clip, curves no single style has. It moves smoothly while the music plays, so it is worth automating through a build. BAND MIX blends one band’s saturated sound with its clean self, and MIX does the same for the whole plugin. Parallel saturation keeps the punch of the dry signal and adds density underneath; because MIX blends in phase with the bands, it leaves no hollow notch at a crossover.
Let the drive follow the music
A steady drive treats a quiet note and a loud hit the same way. DYNAMIC lets each band’s drive follow its level instead. Turned towards +, the hits and attacks are driven harder, for bite on a drum bus or an electric piano that barks when played hard. Turned towards −, the quiet parts are driven harder, for a denser, more even vocal or a booming bass that stays saturated through its tail. TONE at PRE decides whether the highs or the lows are driven harder while the balance of the sound stays the same.
Where to start
Load a preset close to the job: Drum Crunch Bus or Clip Loud Drums on drums, Bass Three Ways or Sub Octave Fuzz on bass, Clean Guitar Glow or Crunch Rhythm on guitar, Vocal Tape Warmth or Parallel Vocal Grit on a voice, Mix Glue Tape on the mix bus, Air Exciter for the top, and Wavefold Madness when it should not sound polite. Read the page of VEIRA Saturator for every control. For one warm colour with fewer controls, VEIRA Saturator Gold has a valve preamp, tape and a tube glow; for the whole sound of a tape machine, VEIRA Tape Saturator.