Mastering your own song: what goes in the chain, and in which order
What each stage of a typical mastering chain does, why the order matters, why the limiter always goes last, and how to compare your master fairly with a reference.
Mastering is the last step between a finished mix and a release: small corrections to tone, dynamics and width, then the level brought up so the song sits well next to others. When you master your own music, the hard part is rarely any single processor. It’s knowing what to use, in which order, and when to stop, because every stage feeds the next and the order changes the result.
Start with corrective EQ
Fix problems before anything reacts to them. A compressor or a limiter responds to what it hears, so if the mix has a boomy low mid or a harsh upper mid, every later stage works harder on exactly that. Mastering EQ moves are usually small and broad, often 0.5 to 2 dB with wide bands. A high-pass very low, around 20–30 Hz, clears rumble that eats headroom, and mid/side EQ lets you treat the center and the sides separately.
Then control the dynamics
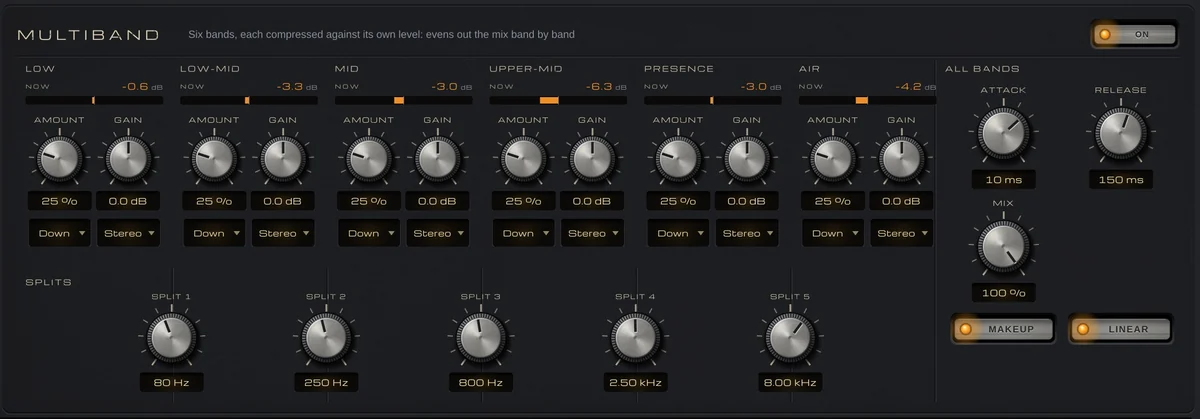
Next comes compression. A gentle bus compressor with a low ratio and 1–2 dB of reduction glues the mix together. A multiband compressor controls one range that jumps, like a bass line that booms on certain notes, without pumping the whole song. A dynamic EQ is narrower still: it acts only when one frequency gets too loud. A de-esser belongs here too, if the vocal’s sibilance sharpens as the master gets louder.
A typical order, and why
This is a starting point that suits most songs, not a rule:
- Corrective EQ: fix the tone before anything reacts to it.
- Compression and multiband: even out the dynamics that remain.
- Stereo width: widen the sides above the low end, and keep the bass centered.
- Saturation: a little harmonic color adds density before the final stage.
- Clipper, if you need one: it rounds the sharpest peaks so the limiter works less.
- Limiter, always last: it sets the final loudness and stops peaks crossing the ceiling.
Some engineers saturate before compressing so the compressor smooths the color, or add a small EQ after the compressor to fine-tune. Whatever you move, the limiter stays last: anything after it can push the peaks back over the ceiling.
Loudness, ceiling and a fair comparison
Streaming services turn loud songs down, so −14 LUFS integrated is a common streaming reference, and a true-peak ceiling around −1 dBTP is common guidance to avoid distortion after encoding. Louder always sounds better at first, so compare your master with a reference track, and with your unmastered mix, at the same loudness. Keep an eye on PLR, the peak-to-loudness ratio: the lower it gets, the more of the song’s punch has been squeezed out.
Doing it with VEIRA Mastering Suite
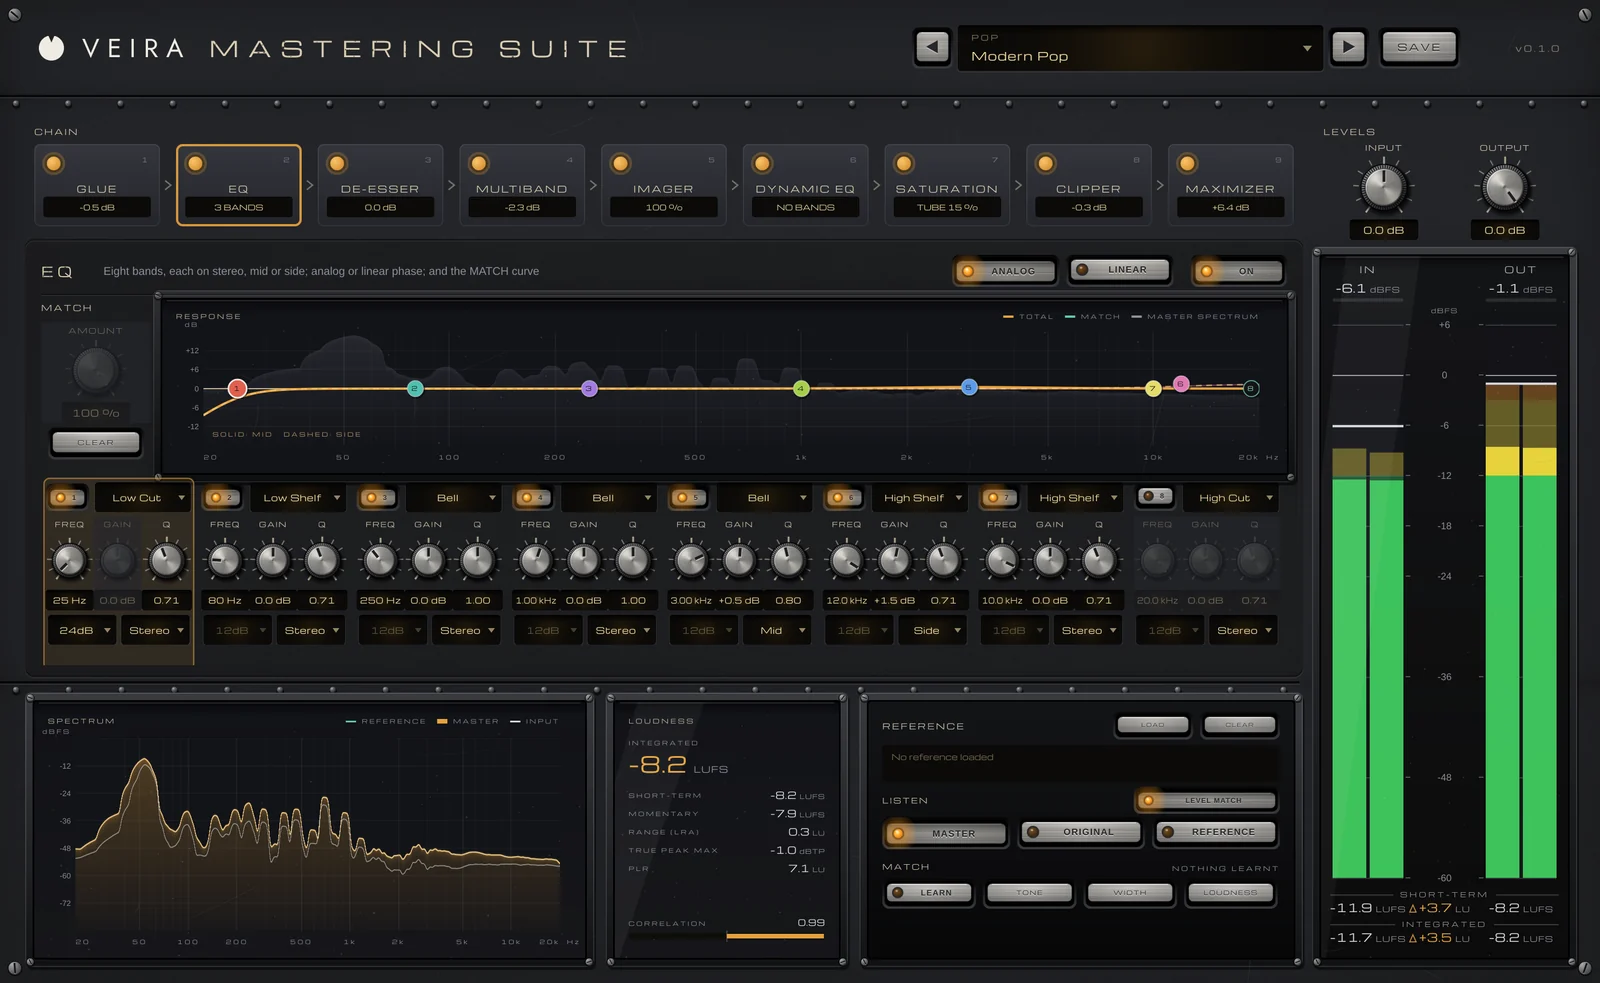
VEIRA Mastering Suite is a whole mastering console in one plugin, with the standard chain ready when it opens: EQ, MULTIBAND, IMAGER, DYNAMIC EQ, SATURATION and MAXIMIZER. GLUE, a DE-ESSER and a CLIPPER wait, switched off, where they belong. Drag a card to move a module and click its lamp to switch it; a new order fades out and back in, so nothing clicks, and the MAXIMIZER always stays last.

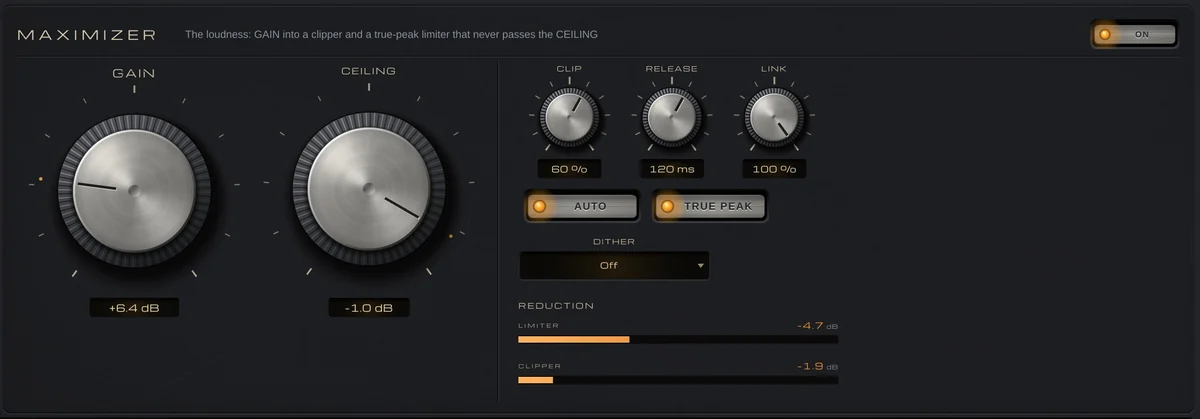
The MAXIMIZER is a lookahead true-peak limiter that never passes the CEILING, and OUTPUT after the chain can only turn down, so the ceiling holds. Load a reference track and LEVEL MATCH plays the original and the reference at your master’s loudness, so you compare tone, not level; TONE MATCH, WIDTH MATCH and LOUDNESS MATCH move your master toward it.
The LOUDNESS window shows integrated, short-term and momentary loudness, the loudness range, the highest true peak, PLR and the stereo correlation. Its 67 presets are sorted by destination and genre, and each one states the loudness it aims for.